


Nexx XD1: Installing a Sena 20S
/Woo! I got the new NEXX XD1. Its a helmet that seems to have all the boxes checked, with all the features. It seems to be a little low on some quality finishes, but overall it looks really great. I wore it for a few hours around the house, and got to installing my SENA 20S in it. I'll write a little review after I go for a few rides, but this post is all about installing the 20S in to the XD1.
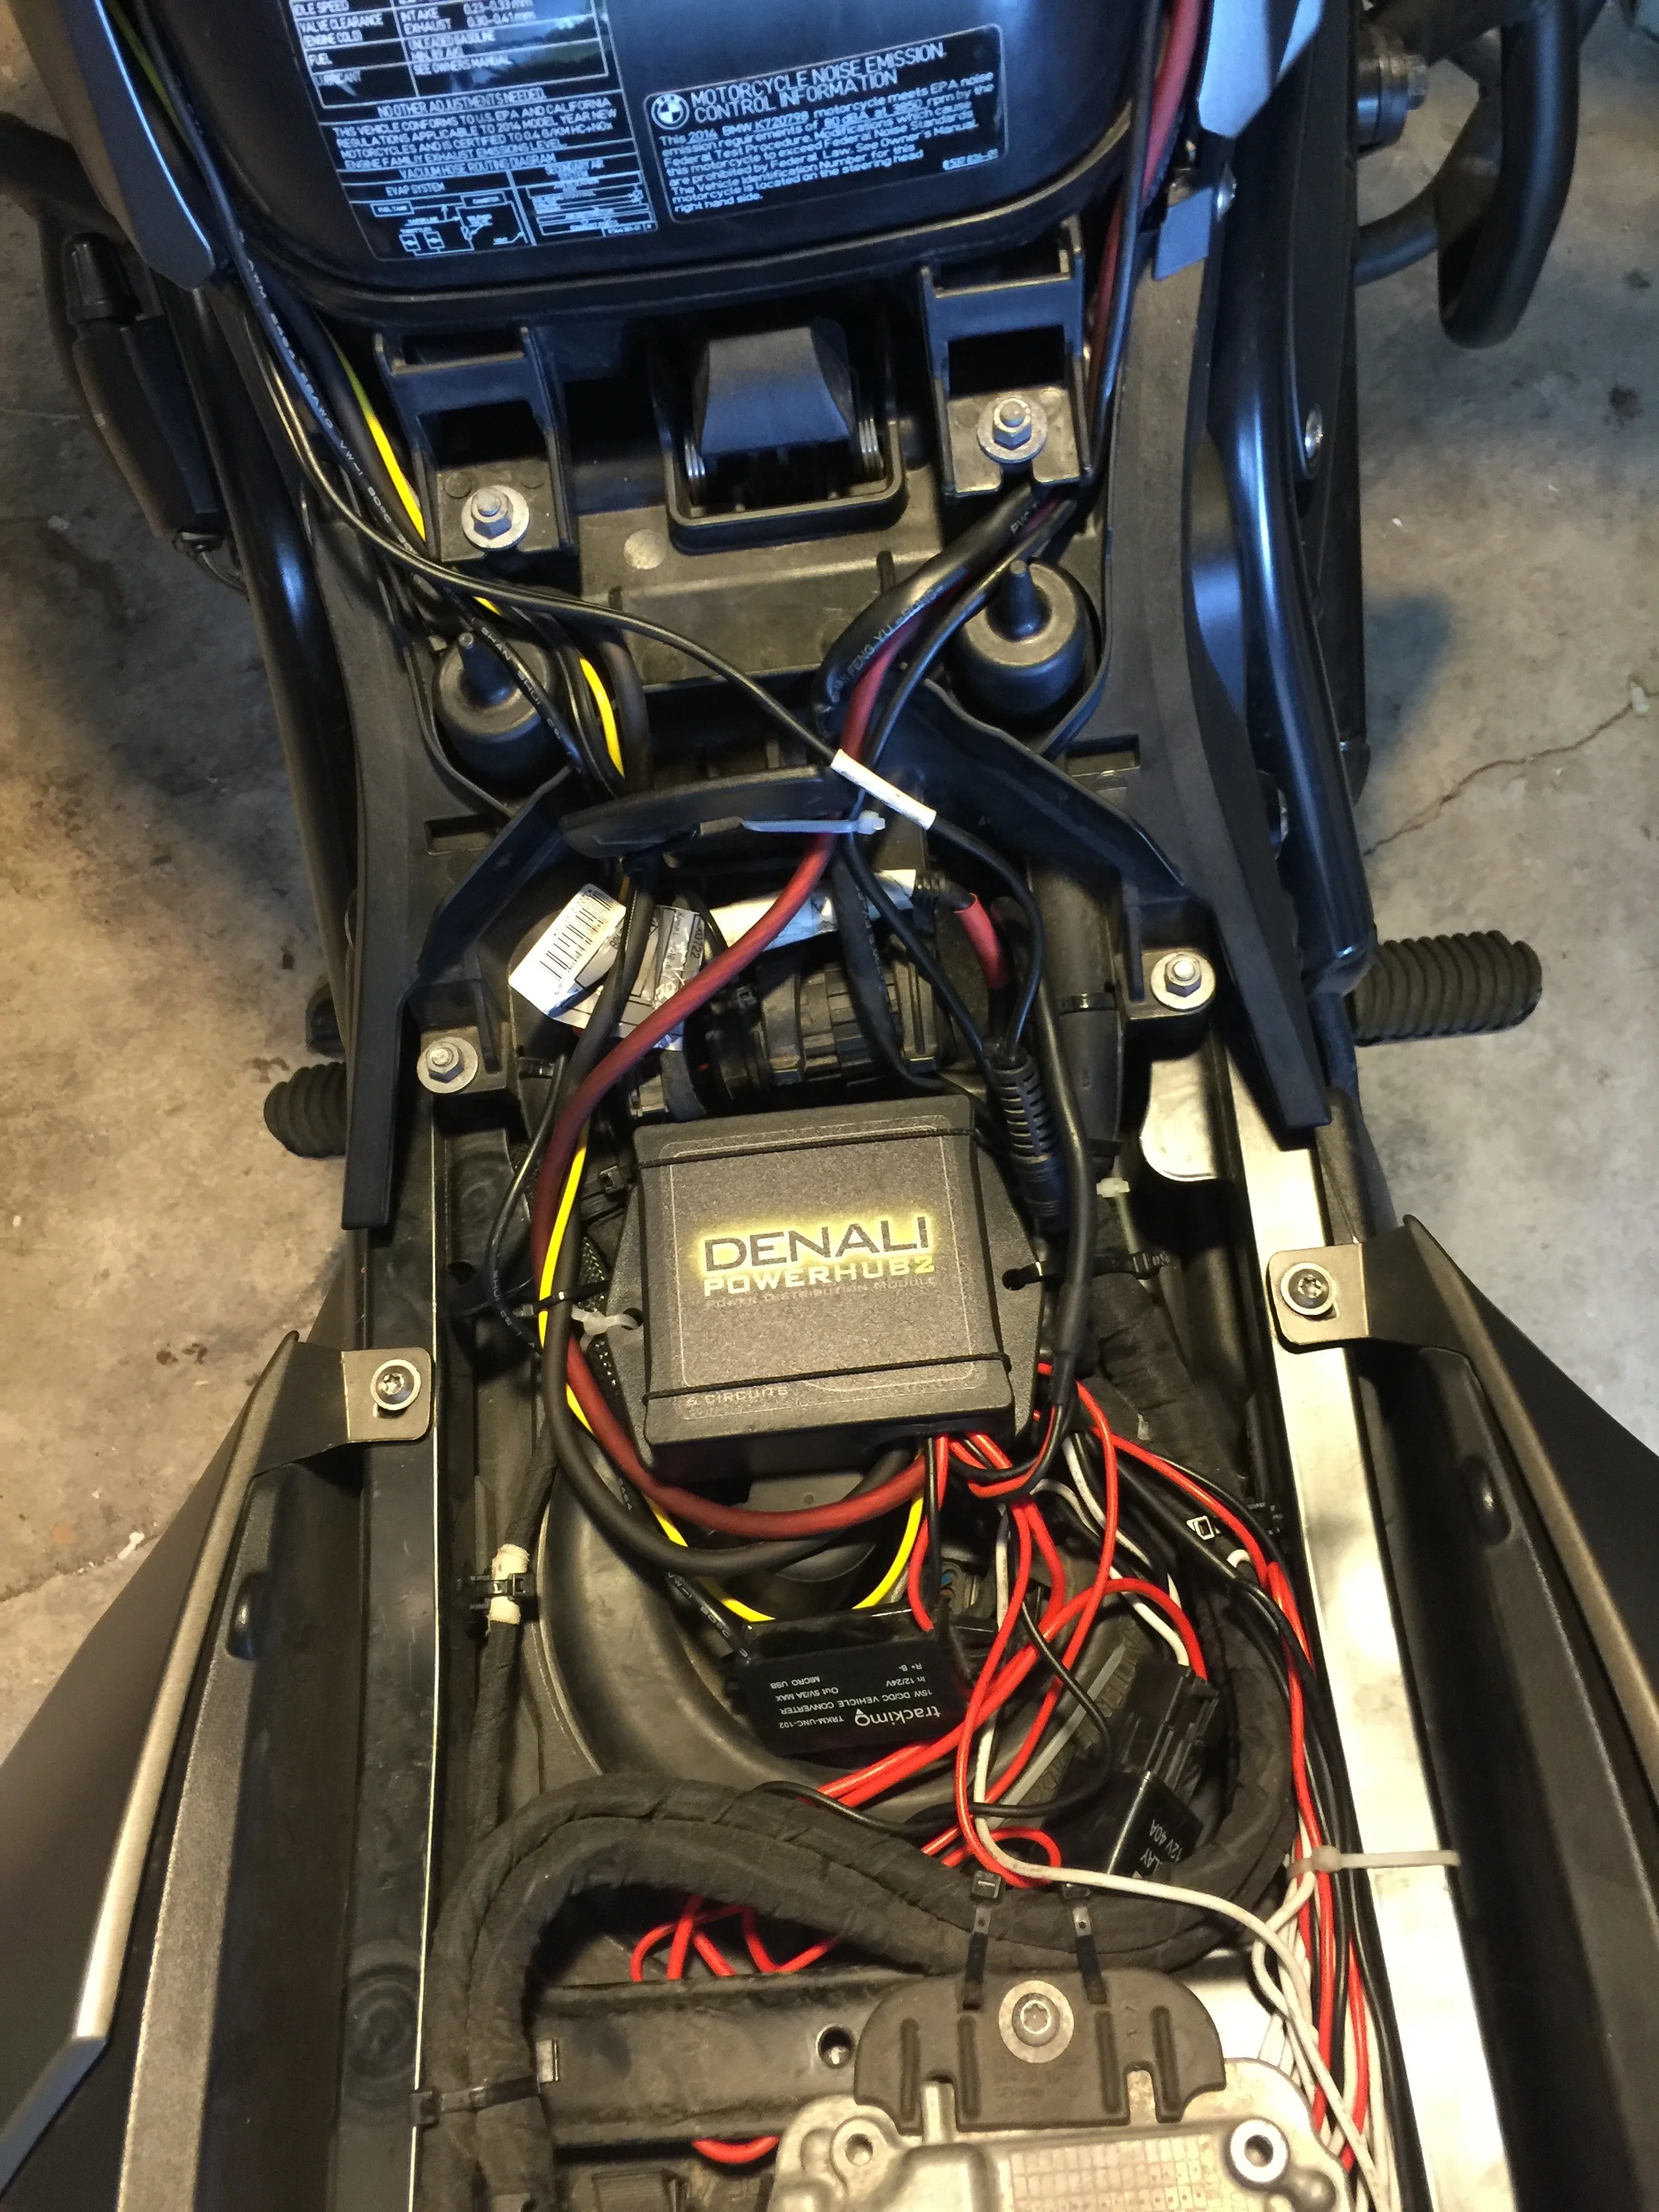
I'll start by mentioning that the XD1 is prepared for its own OEM XCOM intercom system, that happens to be made by SENA. It's hardware thats similar to the SMH10R or SMH10. Bluetooth 3.0, and can pair with 3 other SENA intercoms. The preparation is thoughtful, and if the hardware were similar to the 20S, I would have gone OEM with XCOM system. The difference is, the 20S is bluetooth 4.0, and can intercom with 7 other SENAs. Bluetooth 4.0 means you have an app on your phone that lets you control all the settings, you can see the battery status of the 20S on your phone, and it has a bunch of advanced audio enhancement features. Maybe in the future, Nexx will release a bluetooth 4.0 module that can intercom with 8, and ill make the switch to OEM.
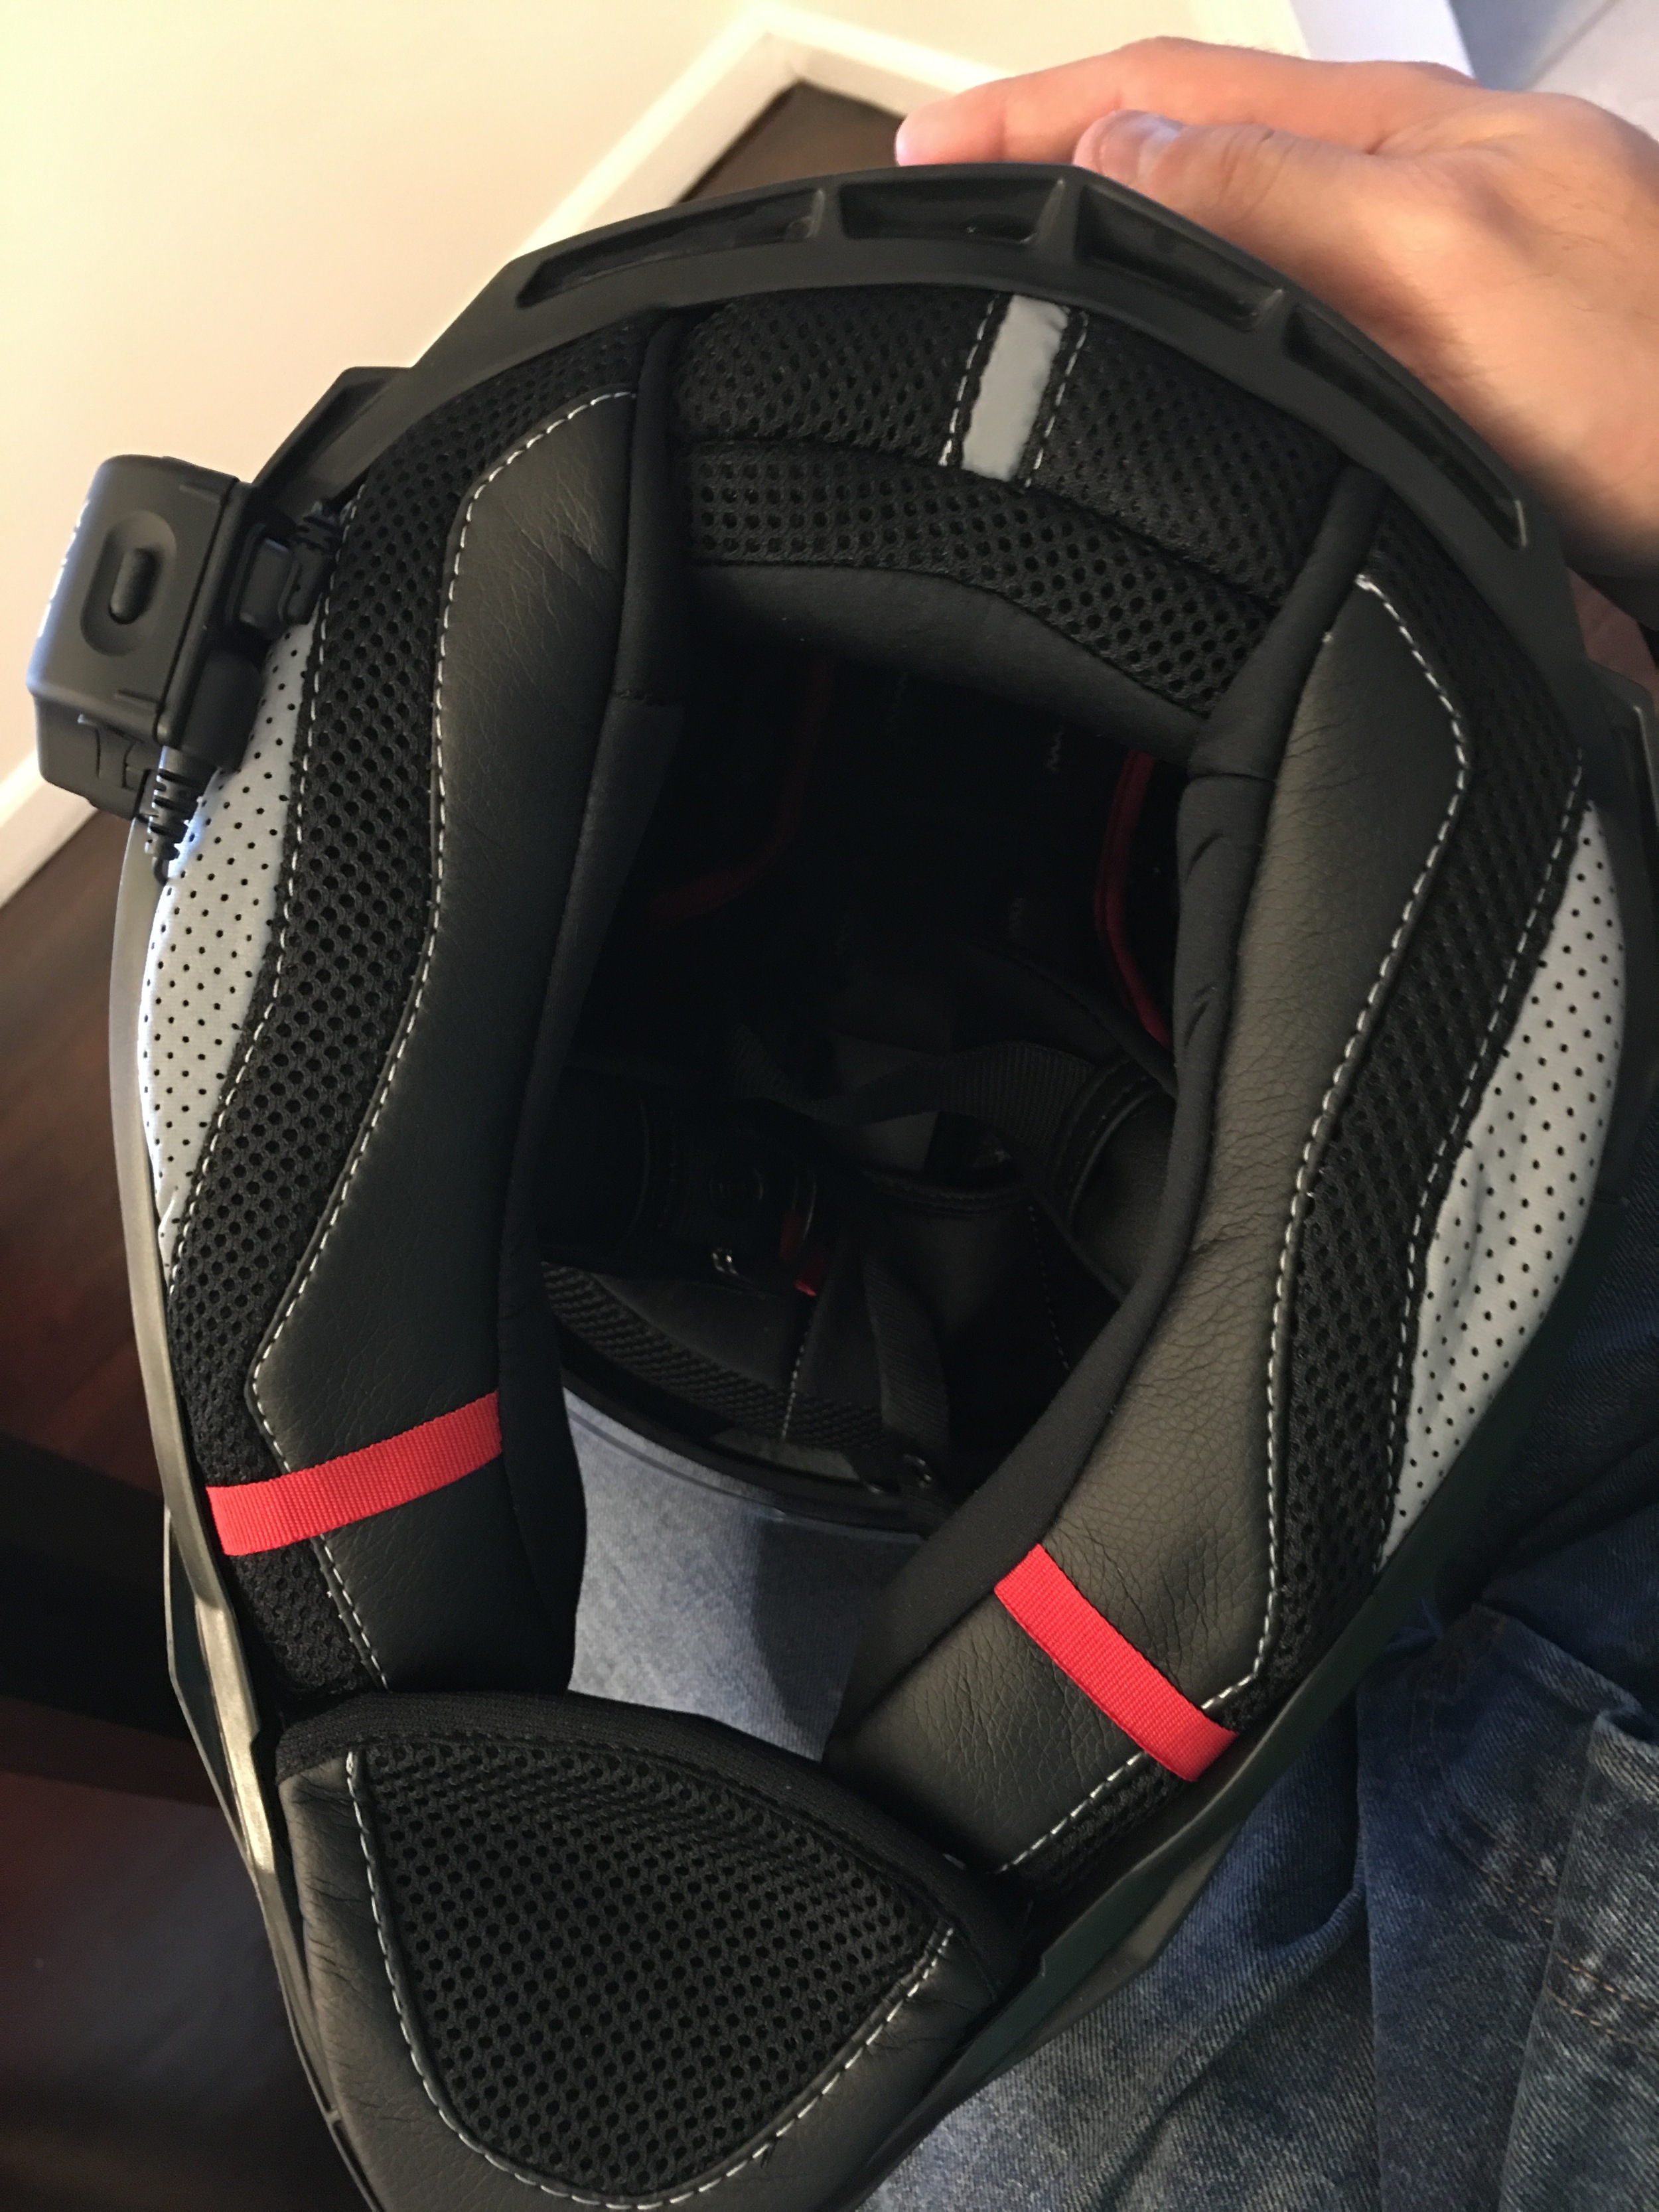
Luckily, the factory preparations for the XCOM help with any intercom installation. The first step is removing the cheek pads carefully. Don't use the red pulls on the bottom to pull them out yet, instead put your hand inside and pull the pads outward. You'll hear 3 snaps undo. After that you can use the red pulls on the bottom to get the neck roll portion of the lining out of the helmet.
Next step when installing a SENA intercom, is deciding if you need to use the sticky mount, or if you can use the preferred clamp mount. A post on ADV gave me a head start, showing me that we can indeed use the clamp mount, but need to modify the helmet ever so slightly.
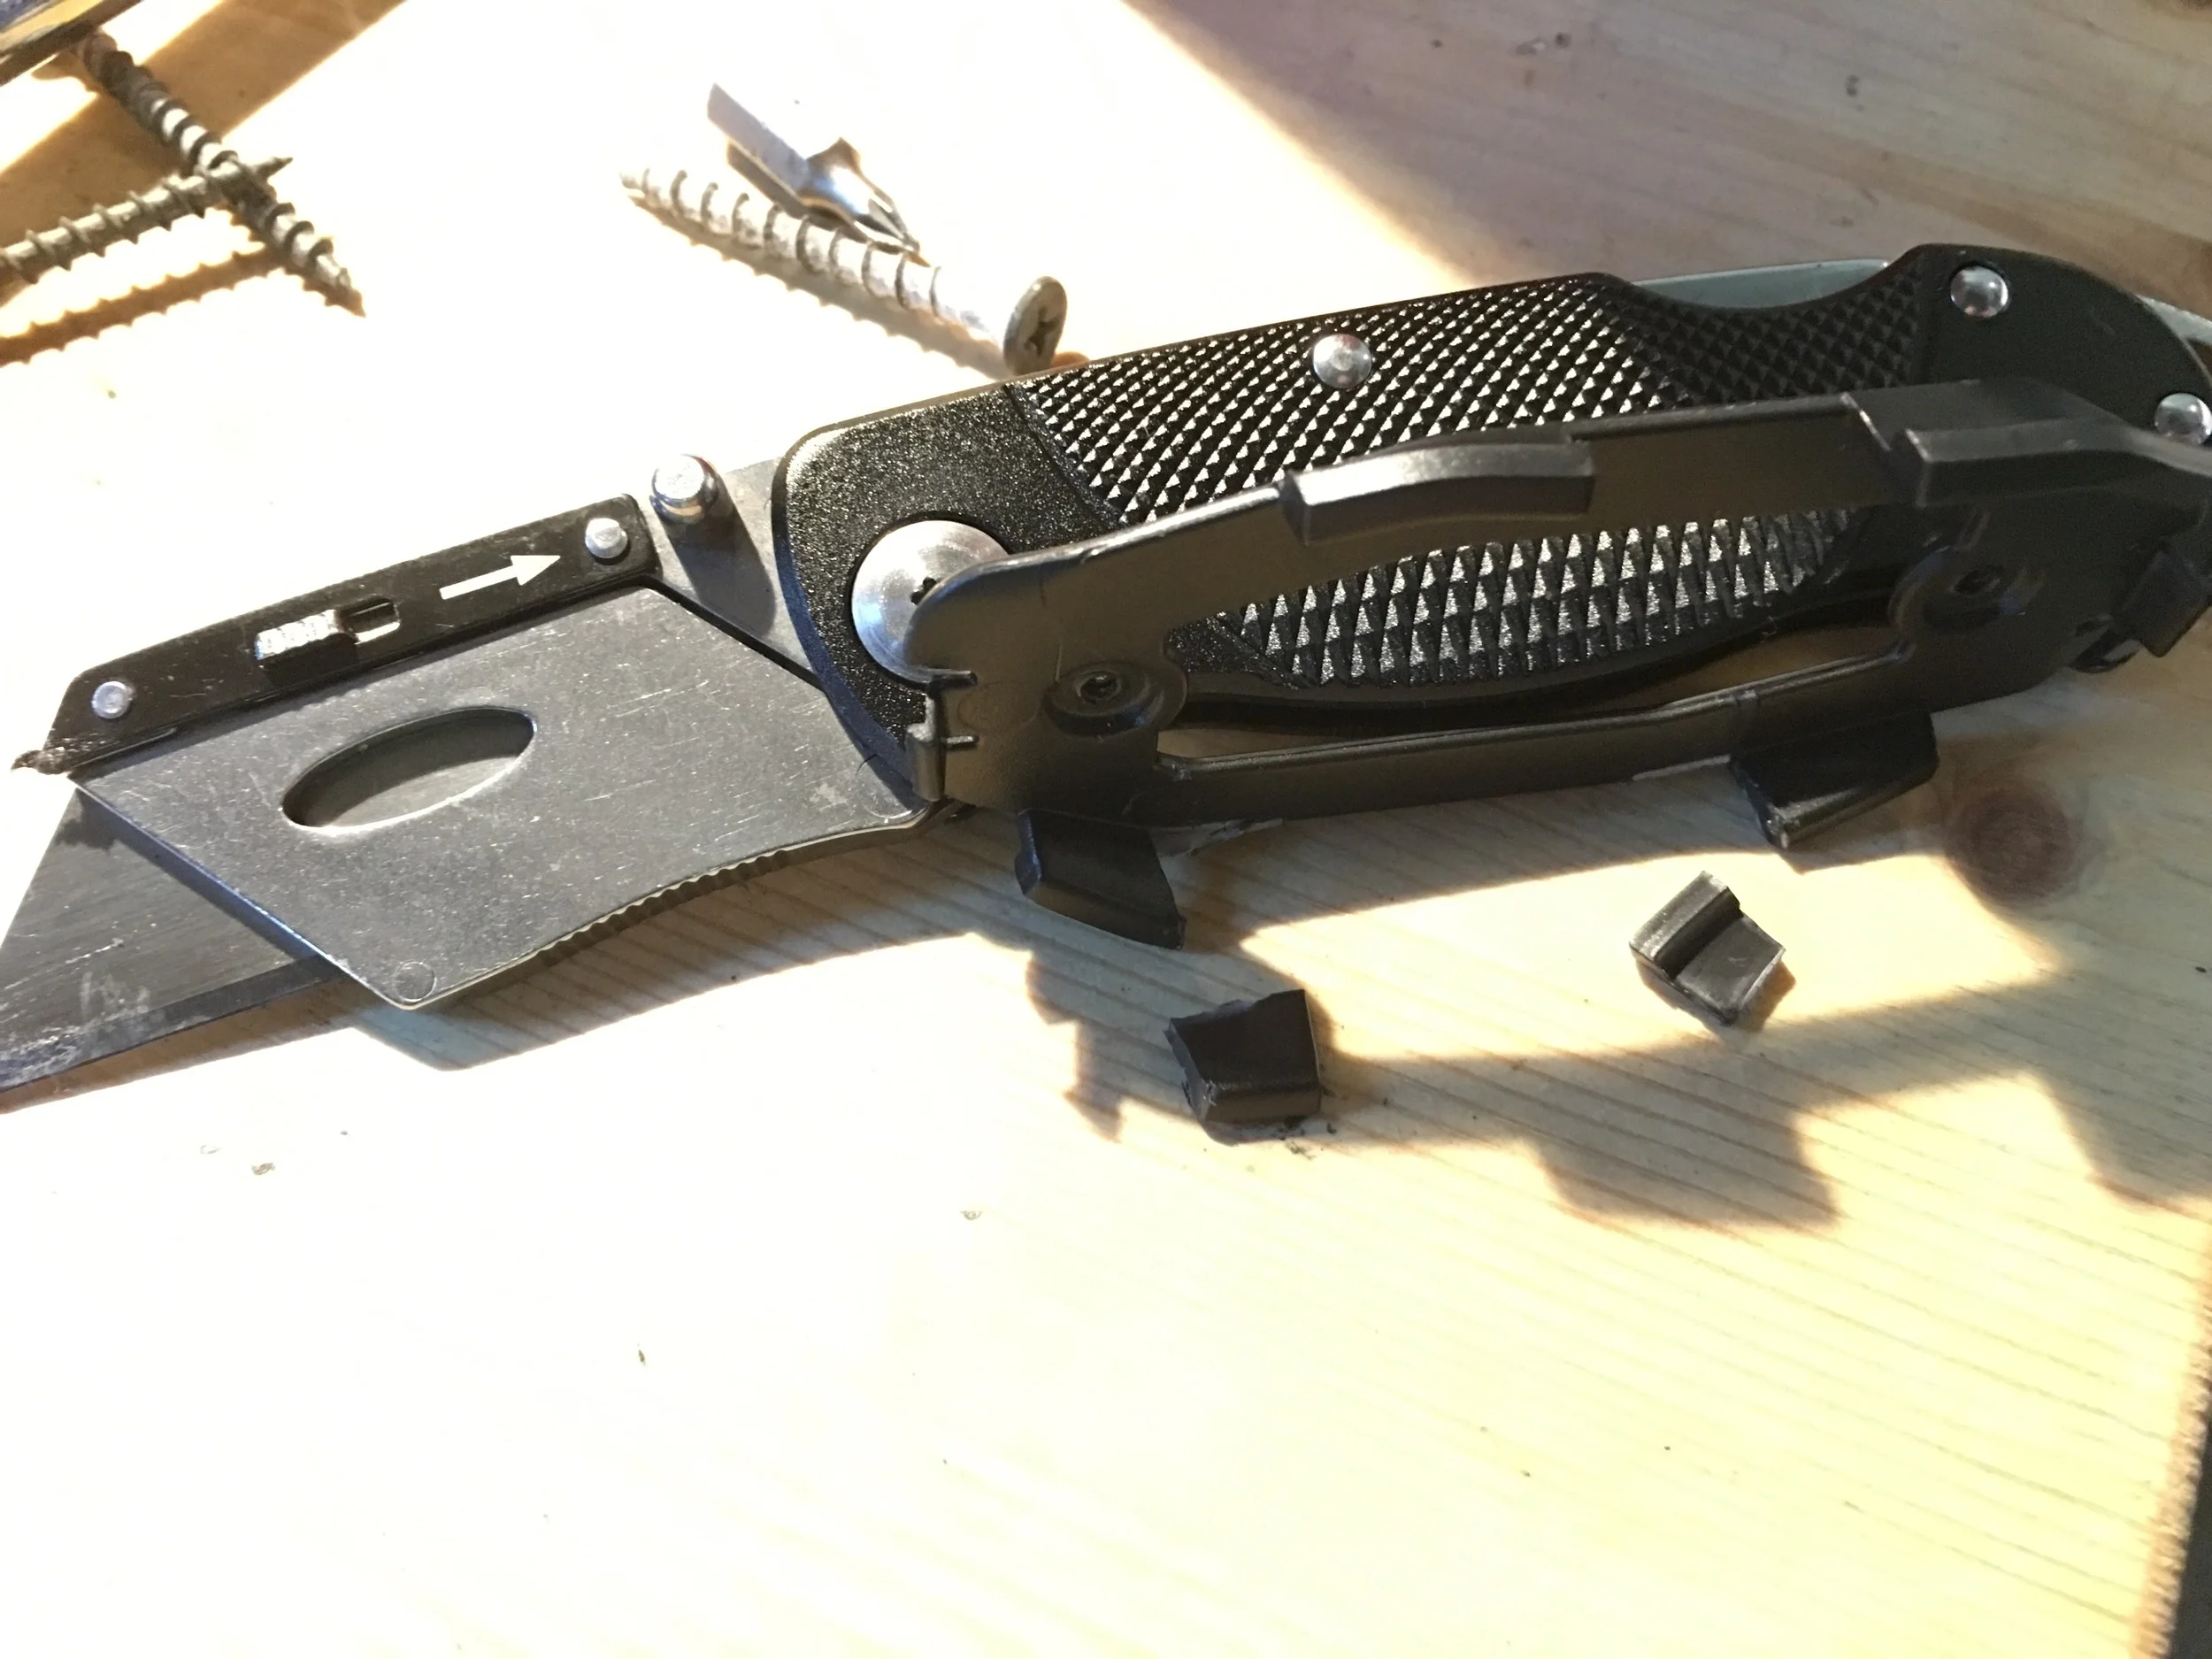
We need to remove the XCOM plastic covering on the outside, which is 2 screws, and then remove the plastic frame inside the helmet where those 2 screws were actually screwed in to. Once you get it out, you can try installing the SENA clamp to test for placement, and compare the placement to the plastic XCOM frame to see where we need to cut back a bit. Using a blade, i just pushed down with careful force on the areas i wanted to slice back. Pushing all the way down, and then with my hand just pulling the new tab back until it cracked. I reinstalled the black plastic frame, screwed the XCOM plastic cover back in, and installed the SENA clamp mount.


Next up was installing the speakers, which was a breeze. The XD1 has large cut outs that fit the larger 20S speakers perfectly. There is a bit of velcro in those cut outs already, but they don't help us with the 20S install, so i peeled them out and saved them, replacing them with the 20S felt stickies instead. First speaker goes right in, 2nd speaker routes under the head liner to the other side, and again sticks right in.


On to the mic, which is the cleanest mic install I've had on any helmet. You want to use the small sticky mic thats just a small circle. The XD1 has a cut out just for that, and even has a wire cut out that works perfectly. I had to cut the small felt sticky to size to fit exactly where we needed it, the same size as the mic. To route the wire sideways, you need to pull the rubber back with your thumb (easiest to access through the shield area), and while pulling back you can push the wire in the channel so it will stay perfectly.


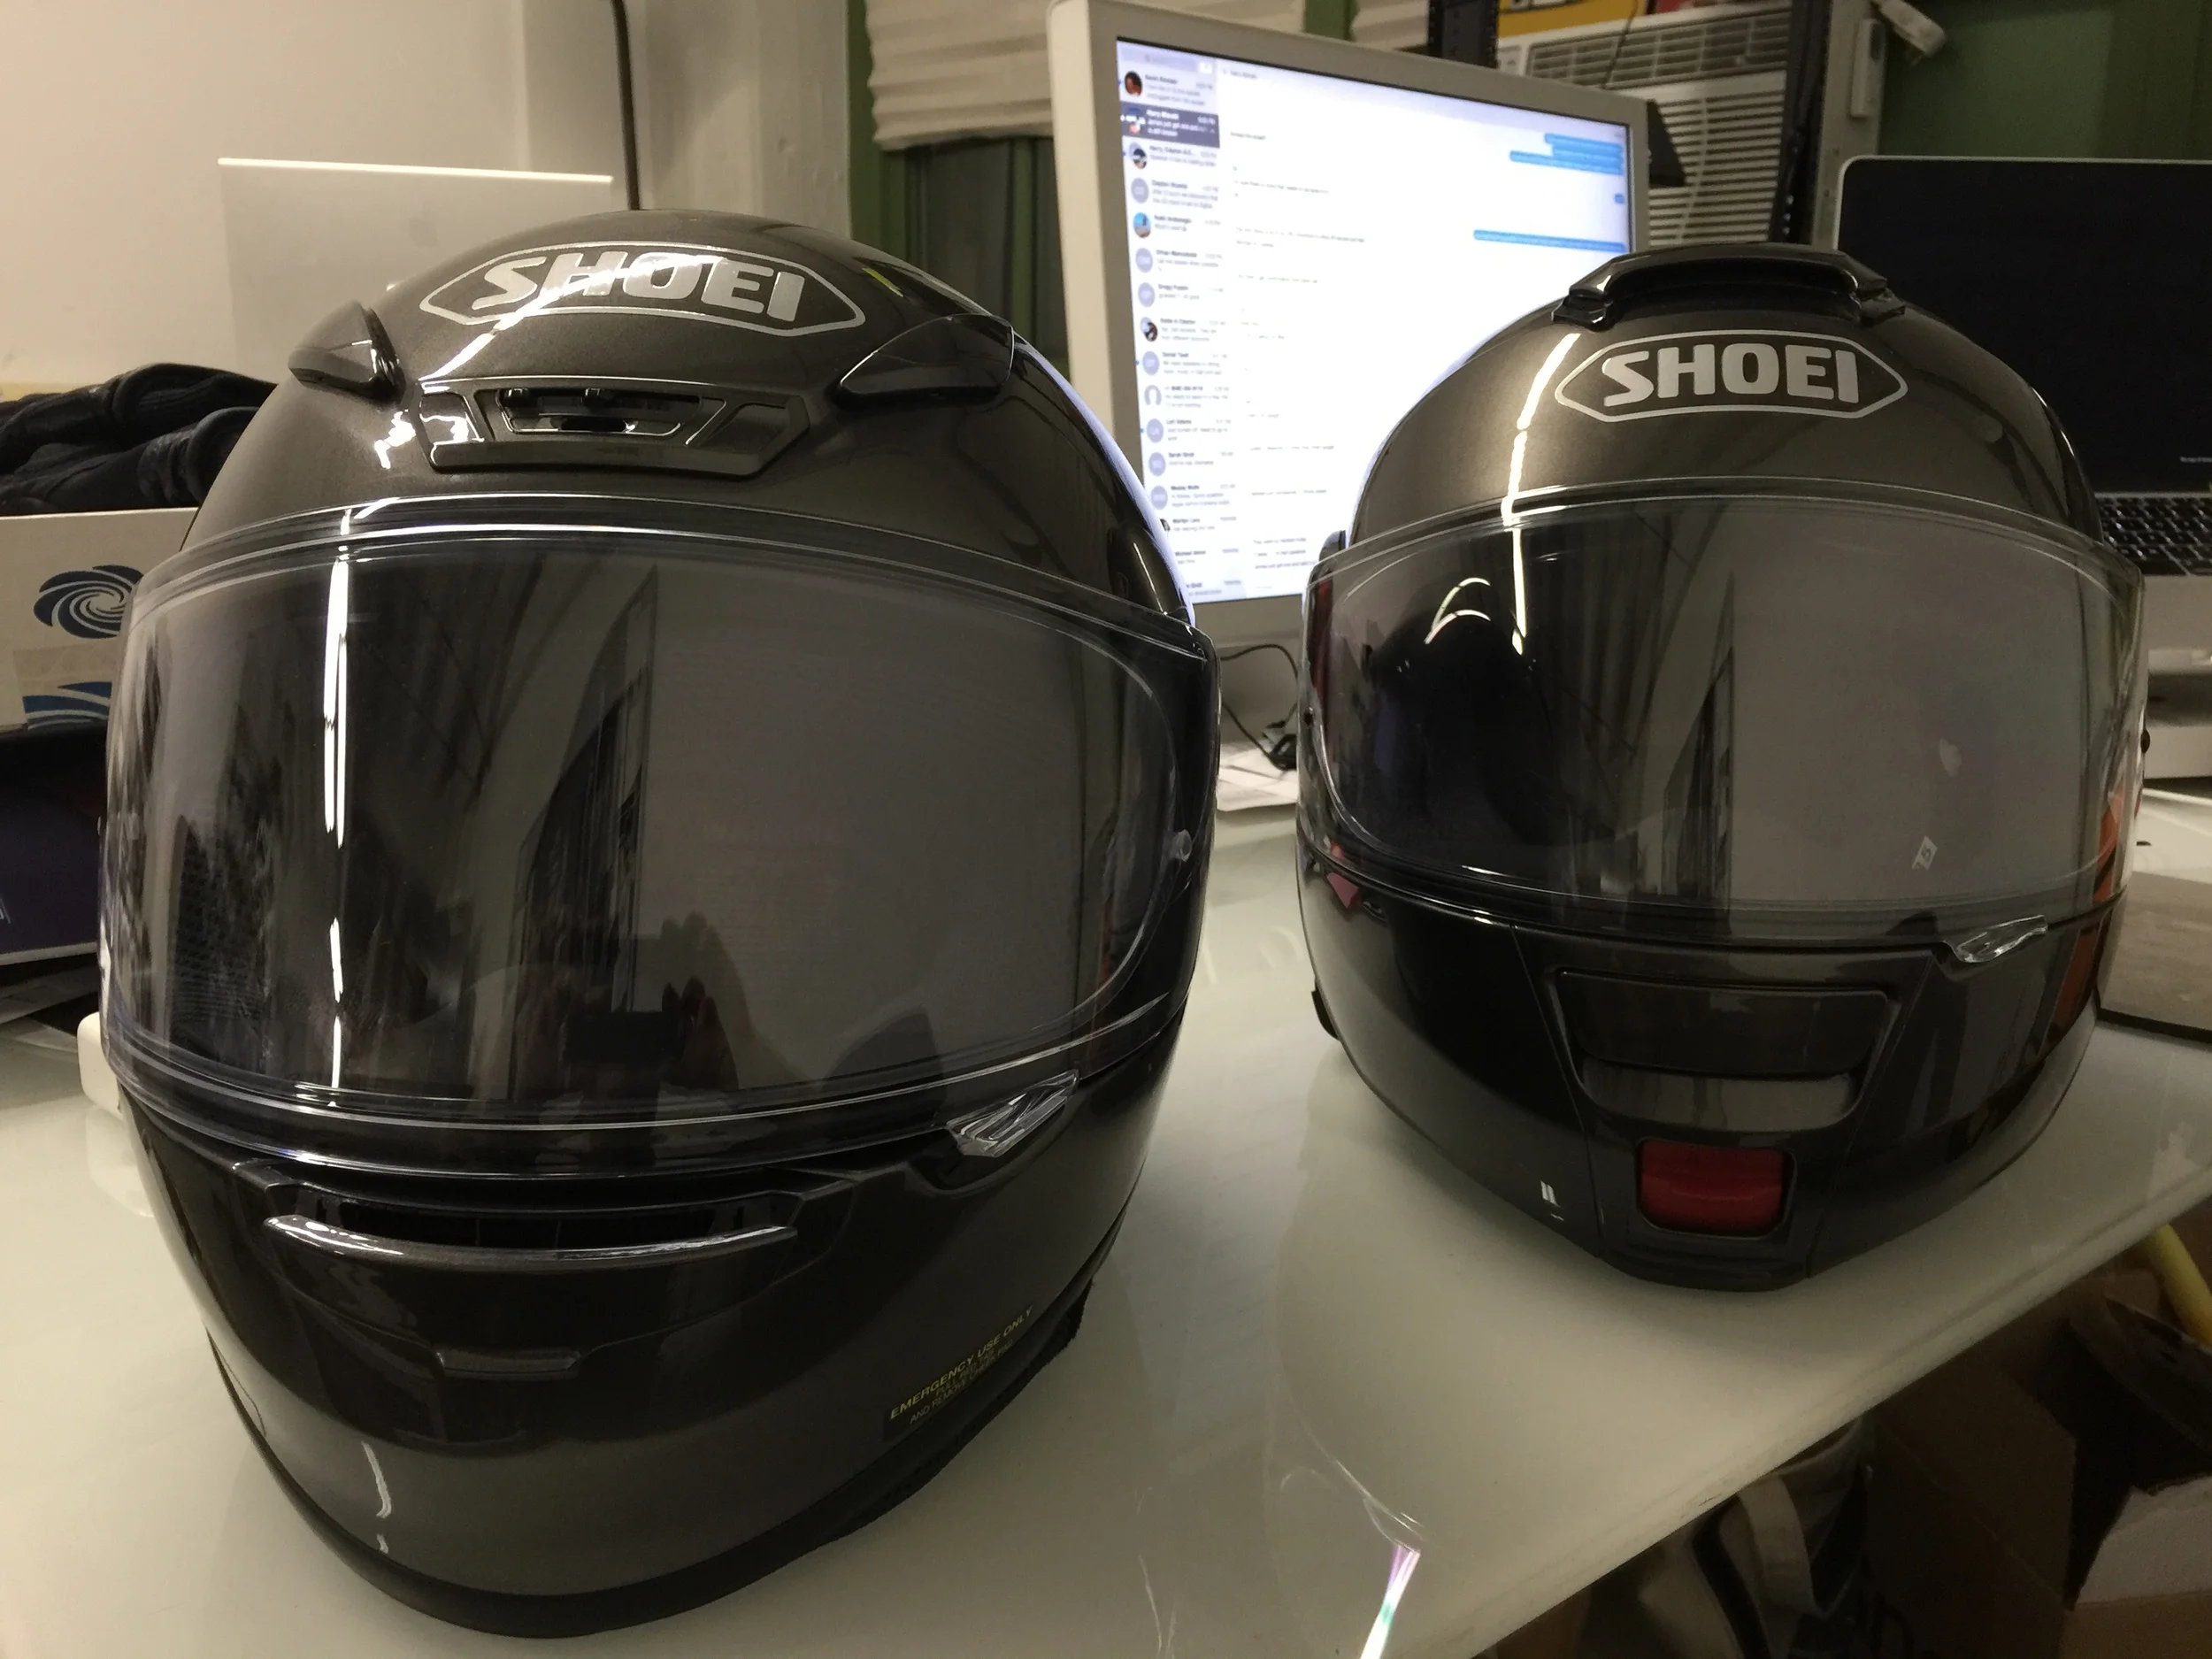
After that, tuck all the excess wire in the the area between the EPS and the outer shell, and reinstall the cheek liners. To reinstall the liners, you first need to clip in the front and back of the neck roll portion of the liners. On my Shoei RF1200 its similar, but easier. On the Shoei, you just push the tabs in and they quickly mate with the clips as long as you have them in the right position. The XD1 is similar, but when pushing in the taps on the XD1, they can wander and not mate correctly. You want to make sure the tabs on the neck roll are actually getting in to the correct area of the red sleeve in order to mate with the clip. You'll know its in right if you give an easy tug on the neck roll portion, if the liner comes loose it wasn't in.


Then work on the remaining snaps inside the helmet. For some reason i could only get 2 of the 3 snaps back in on each side. I tried really hard but couldn't get the last snap in on each side. It seems to still be really sturdy, even after i put the helmet on and off a few times. No movement. Hopefully ill get that figured out in the future, but for now it stays in place.
Once everything was back in, it all looked like it was meant to be. The 20S mostly blocks the original XCOM plastic insert, and the antenna is easier to raise and lower than it was on my Shoei. The speakers stay put, I don't feel them press against my ears at all thanks to the deep recessed speaker cut outs. The liner covers the speakers, and has nice little speaker holes in the liner to let the audio through. The mic sits perfectly where it needs to be and is very clean looking.
I haven't taken the XD1 out for a ride yet to test audio at speed, or mic placement accuracy, but all in all this was the cleanest SENA install I've done to date, and I've installed them on around 6 different types of helmets so far.