


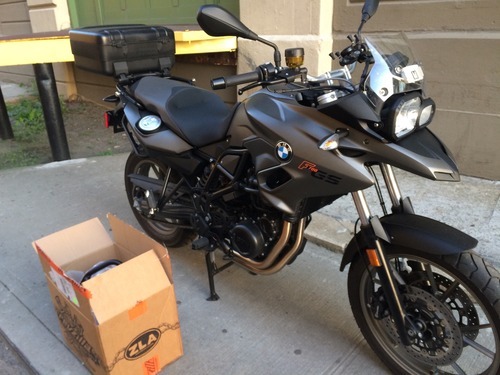
Givi Crash Bars - Install
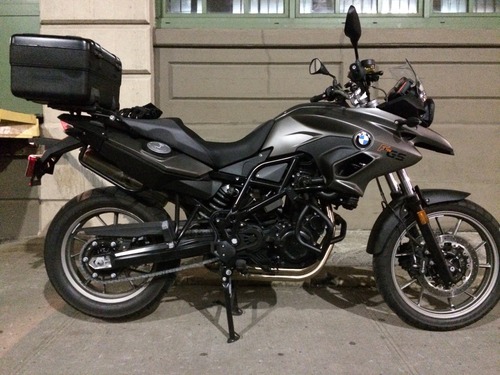
/I never thought about adding these to the 650, but with the 700 being taller and heavier, i sometimes feel like i could drop it. Its still easy to hold up, but not as easy as the 650. After a lot of research, i found the set that i think is a good balance between cost, protection, looks, and features.
Click on for installation photos, and initial thoughts.
when researching, i noticed givi made crash bars for my model and year bike, but they were big and a bit ugly to me. The F700 is a refresh of the previous F650. 2012 ended the F650, 2013 started the F700. i have a 2014. So when searching, i wasn’t sure what was compatible with my bike. After researching some more on advrider forums, i found the smaller givi TN690 guards.
Everywhere listed it only said it would support the F650 up until 2012. I had a strong feeling it would fit but couldn’t be sure. I’ve read about windshields that fit the F650, but not the F700. Either way i wanted these to work. Not only are they small, but they also unofficially double as highway leg rests. I was contemplating eventually adding highway pegs to whatever crash guards i got, but that was extra $ that i would rather not spend.
Still though, i really wanted a place to rest my legs on long trips as my knees hurt after a couple hours. I noticed comments saying that these actually doubled as leg rests. I took the chance, and ordered them. Luckily, they fit perfect. So yes, the Givi TN690 crash guards do indeed fit on a 2014 F700 GS. I got them from revzilla and they came in less then 2 days.
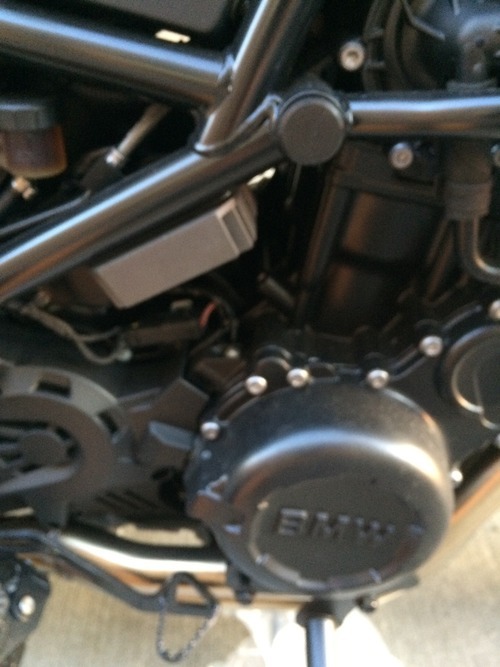
start with the bikes left side, with the bottom brackets.
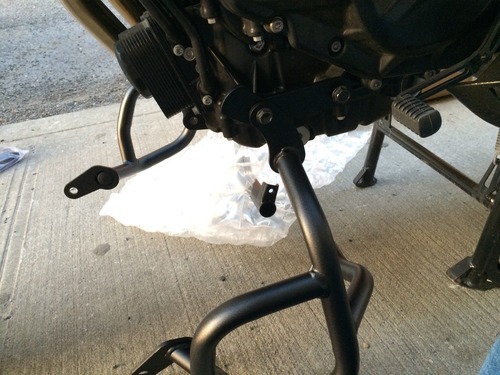
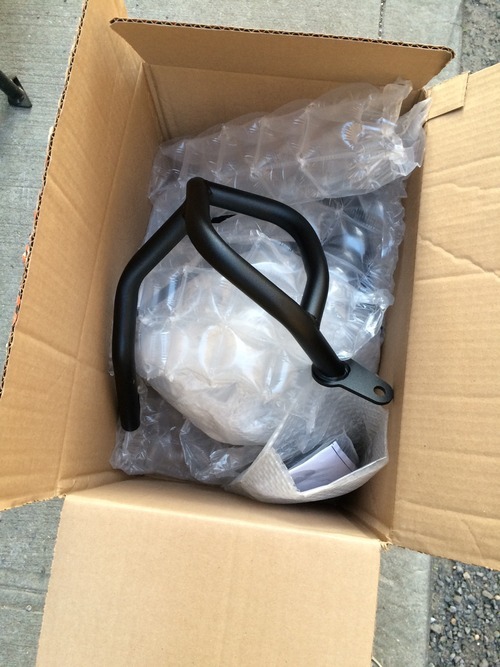
use the spacers as described in the instructions. install the screws, but keep everything nice and loose. just screw in maybe 25% of the way.

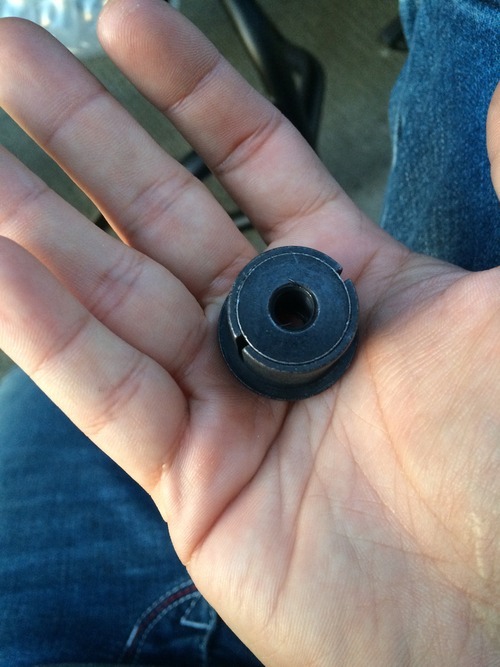
after you get the two bottom screws in, you want to pull out this little plastic cap so we can insert the givi parts in there.
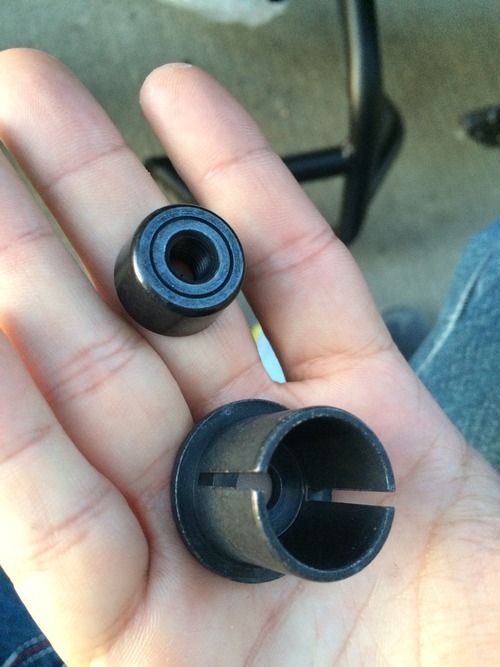
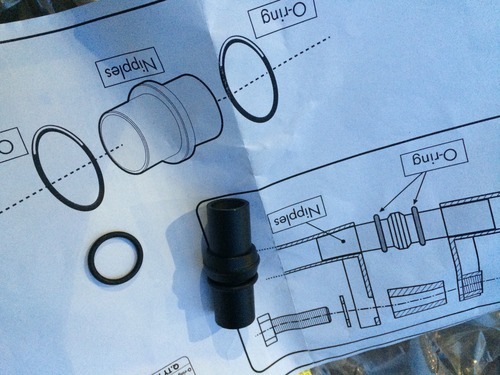
this is what you’ll be putting in the frame. this is the female receiving end for the new givi bolt you will be using. this is a self expanding female end. the key here is you insert the small piece in the big piece. the small piece goes in smaller side first, and you have to push it in with force to get it to stay. otherwise if you leave it loose, when you slide it in to the frame the smaller part may fall out and the bolt wont have anything to thread to.
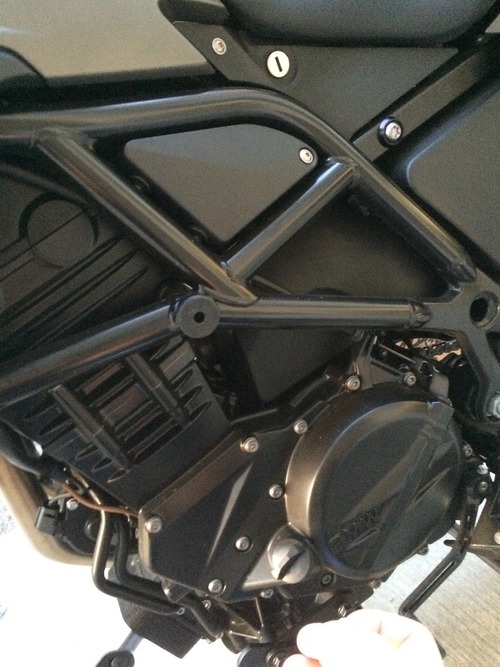
finish the left side, again making sure its all loose and the crash bar has a lot of jiggle room. then do the same thing to the right side of the bike, following instructions for space placement etc.
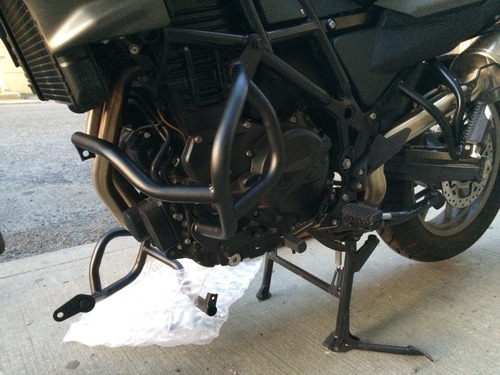
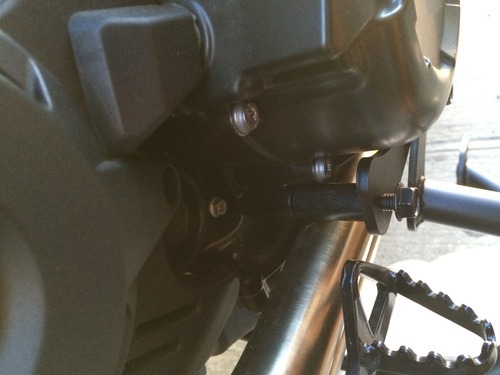
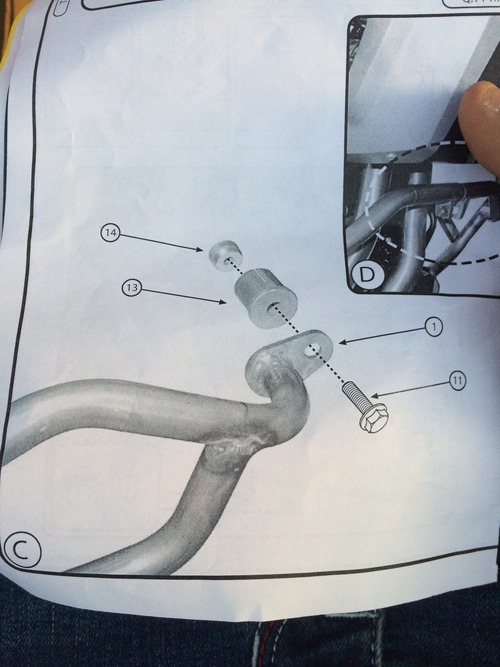
after both are installed, and still loose, install these O-Rings on to the Nipple. slide them all the way on, and then install it in front of the engine in between both mounts. once both crash bars are connected with the nipple in between, start tightening all the bolts on the crash bars to ~85%, while making sure the nipple is still inserted in to both crash bars. you need to tighten the screens, the next step depends on it.
The next step is the last bolt, that goes underneath the nipple, with a washer and a space (see photo below bottom right). you wont be able to get the bolt to thread unless the crash bars are tight enough to the bike. even then, when using the allen wrench i had to push hard to get the threading to catch. After that, i tightened all the bolts everywhere. the instructions tell you how much to tighten but i had no way to measure that. again, all about the right tools. i just tightened until i could turn no more, without extreme force.
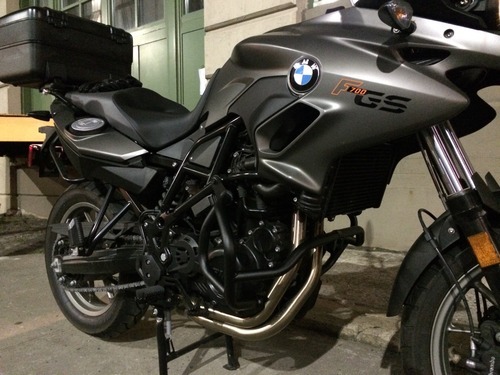
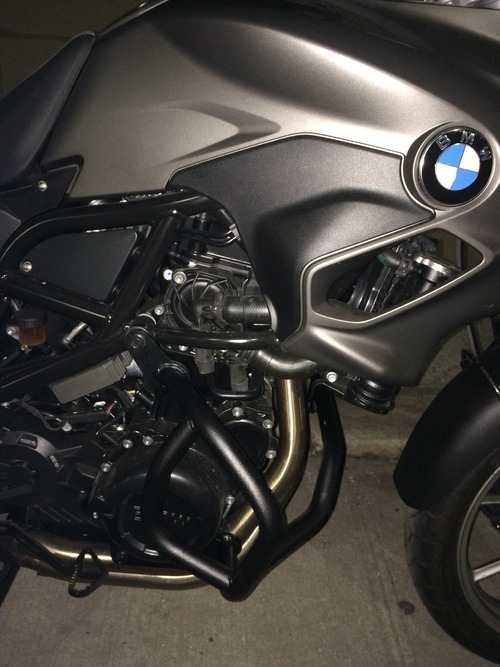
everything went on great. should take 30-60 minutes if you are at my skill level, meaning not very tool inclined, but decent. they came with these extra plastic givi add ons but i think they are just for branding.
i think they look great, like they are part of the bike. they do NOT rattle at higher speeds, i read about that and was a bit nervous.
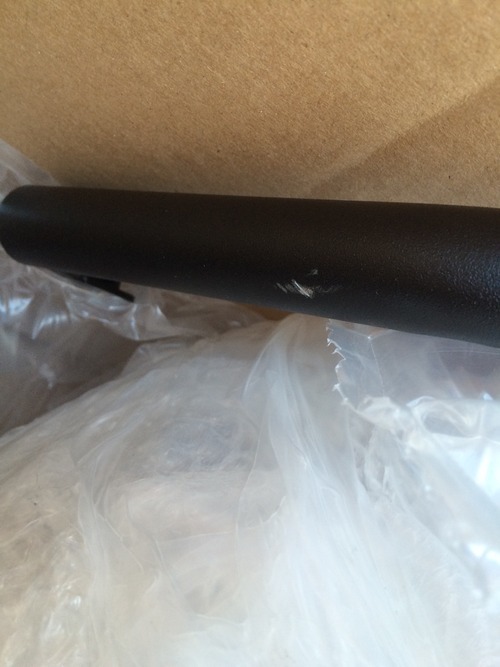
they do scratch easily, before i got them out of the box one of them had a little scratch.
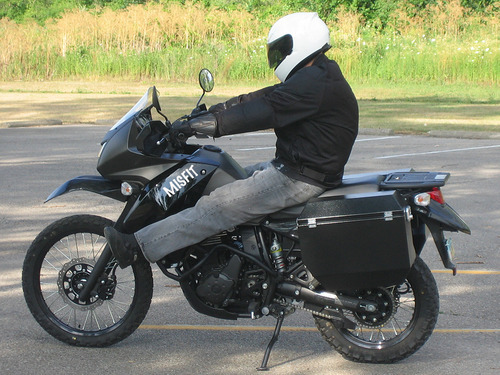
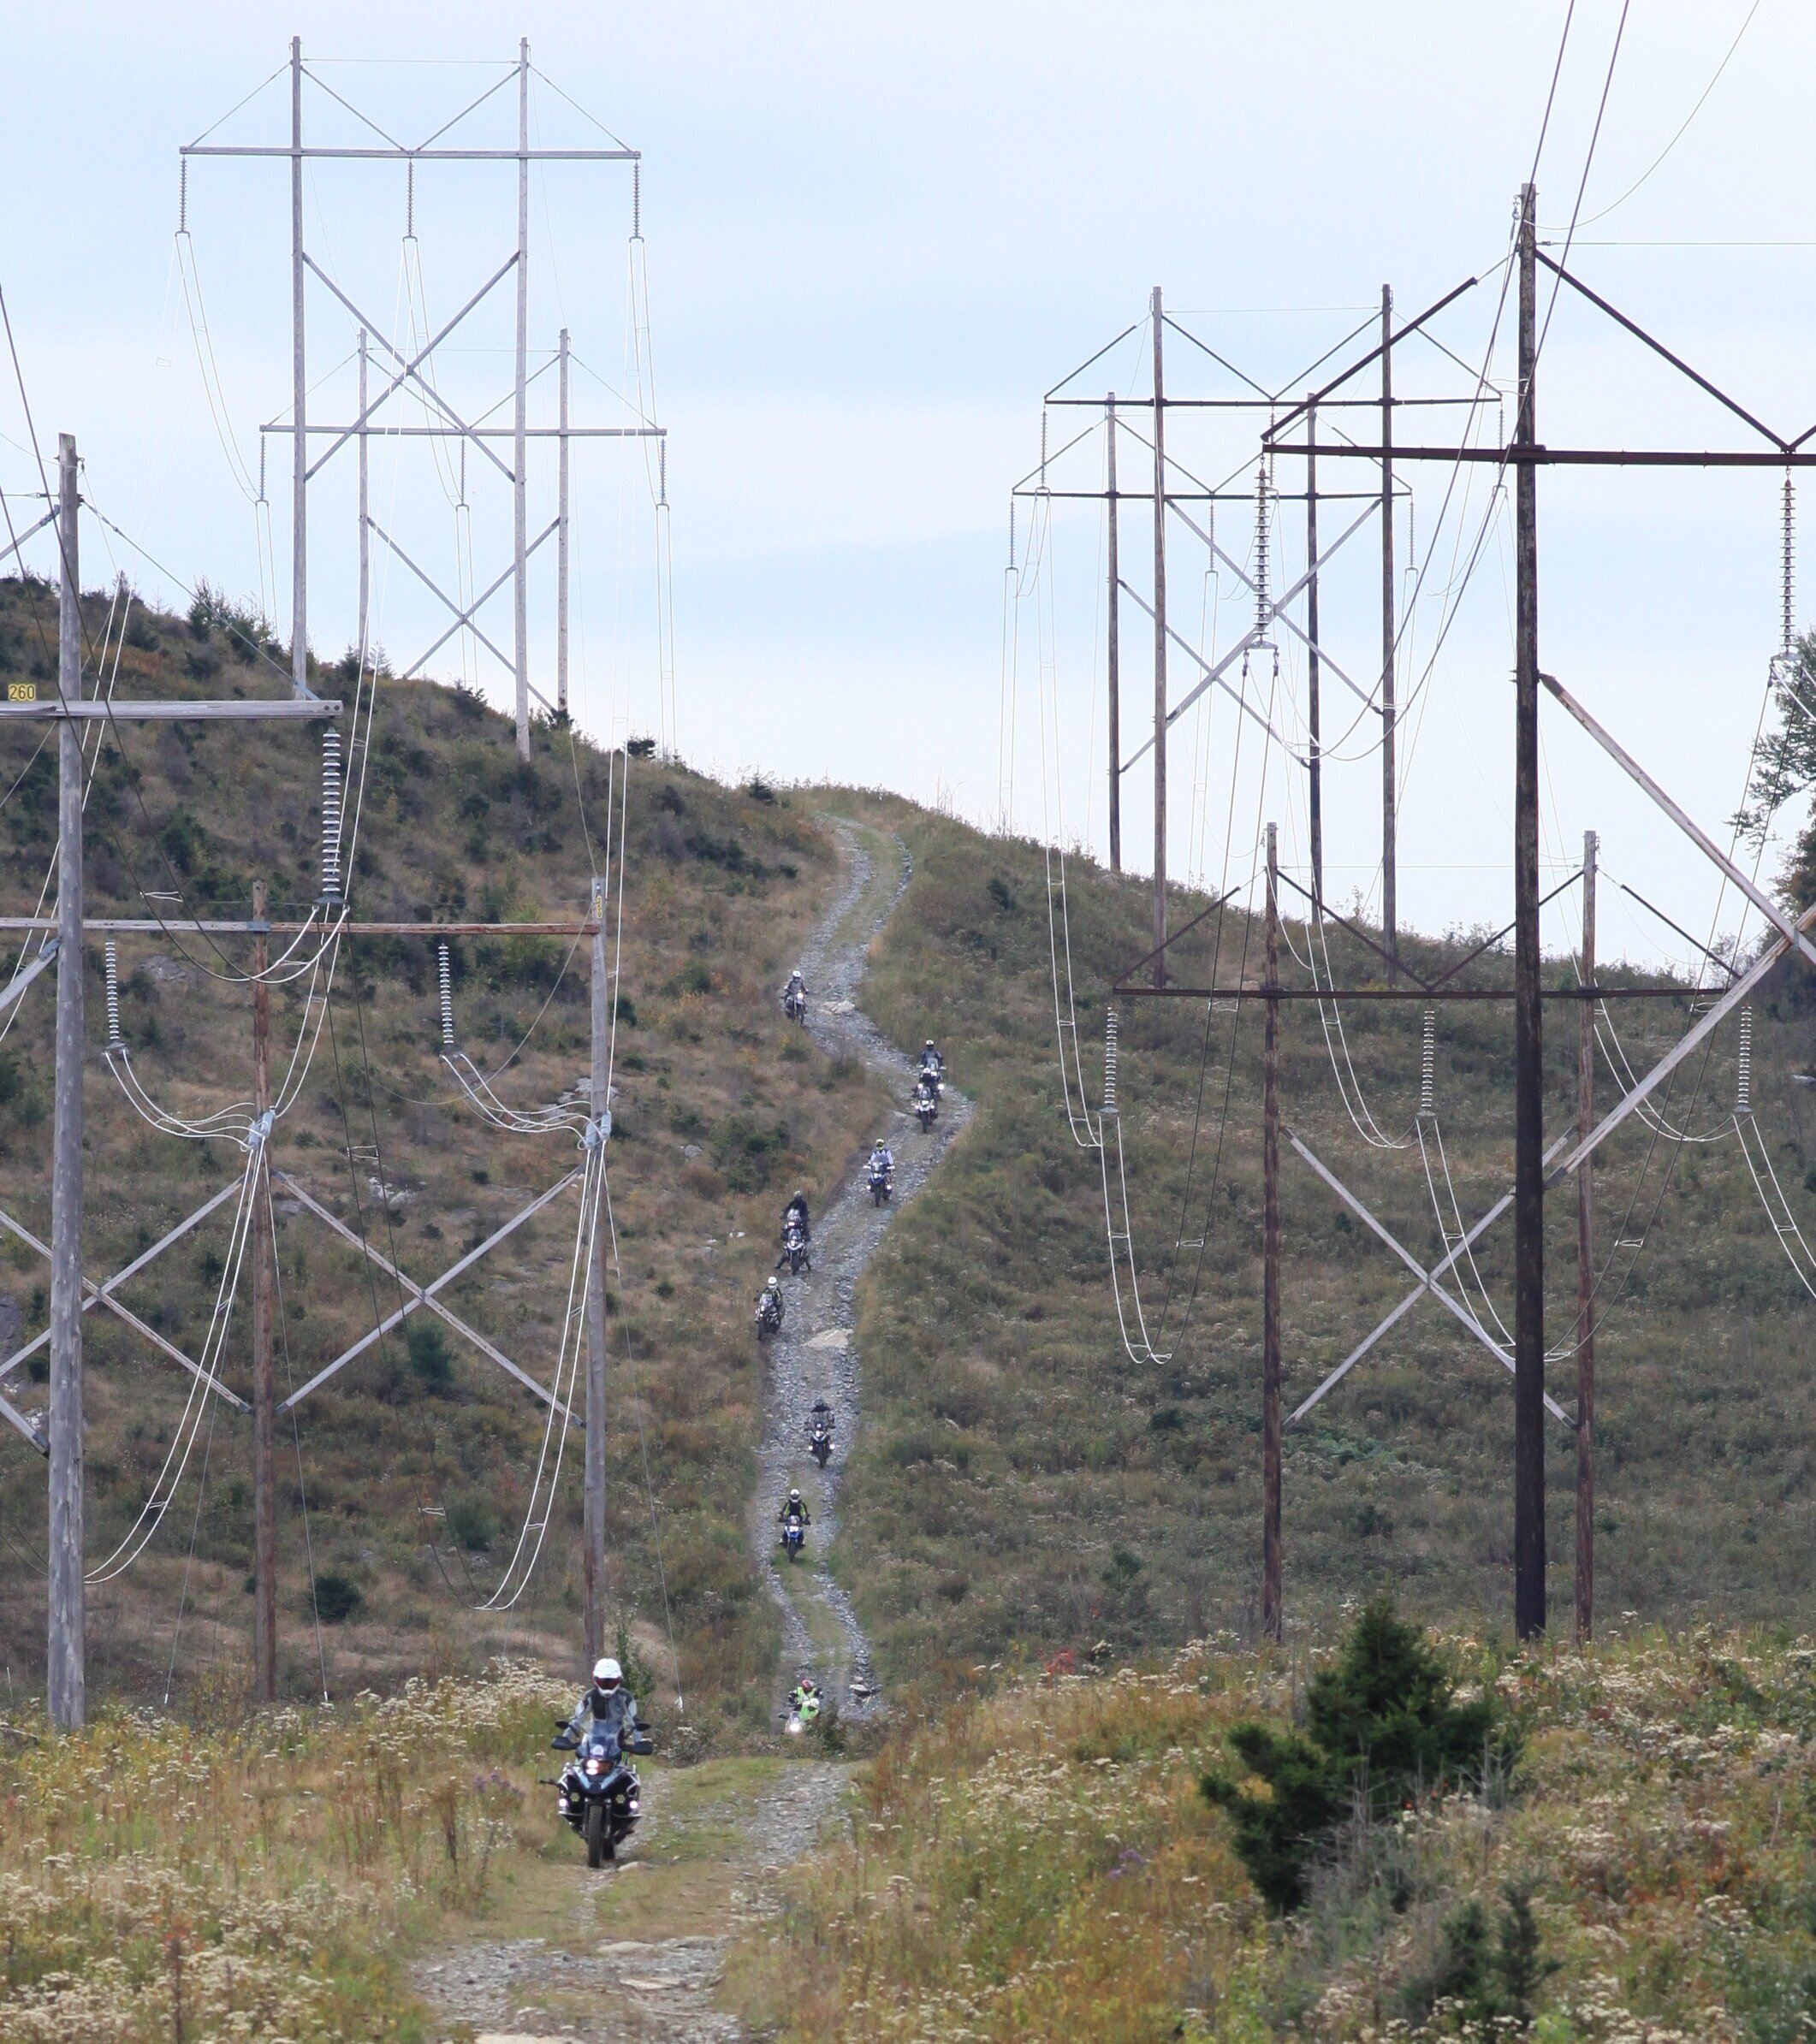
picture of some random dude showing how the unofficial leg rests work: