


looks like San Mateo thinks the givi e21’s are a good choice. nice electric bike too.
looks like San Mateo thinks the givi e21’s are a good choice. nice electric bike too.
woo hoo! they came in yesterday and i installed them the second they arrived.
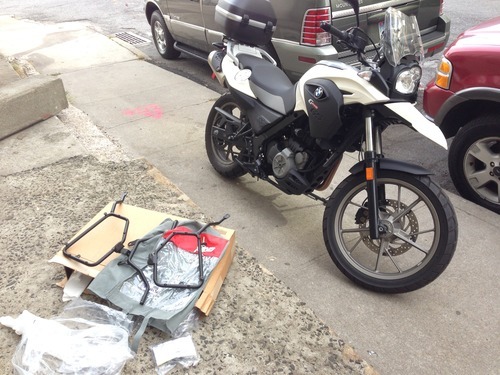
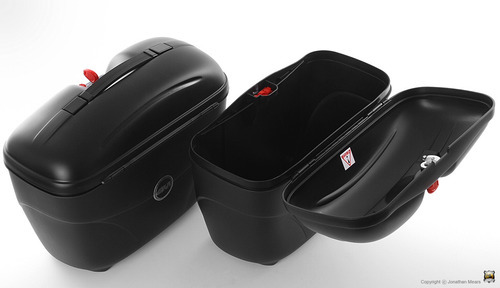
the side cases are the E21’s by GIVI. the side mounts are also by GIVI, model PL188 specific for my bike, the G650GS. Here’s how i installed them:
if you just want to see the results scroll down to the bottom.
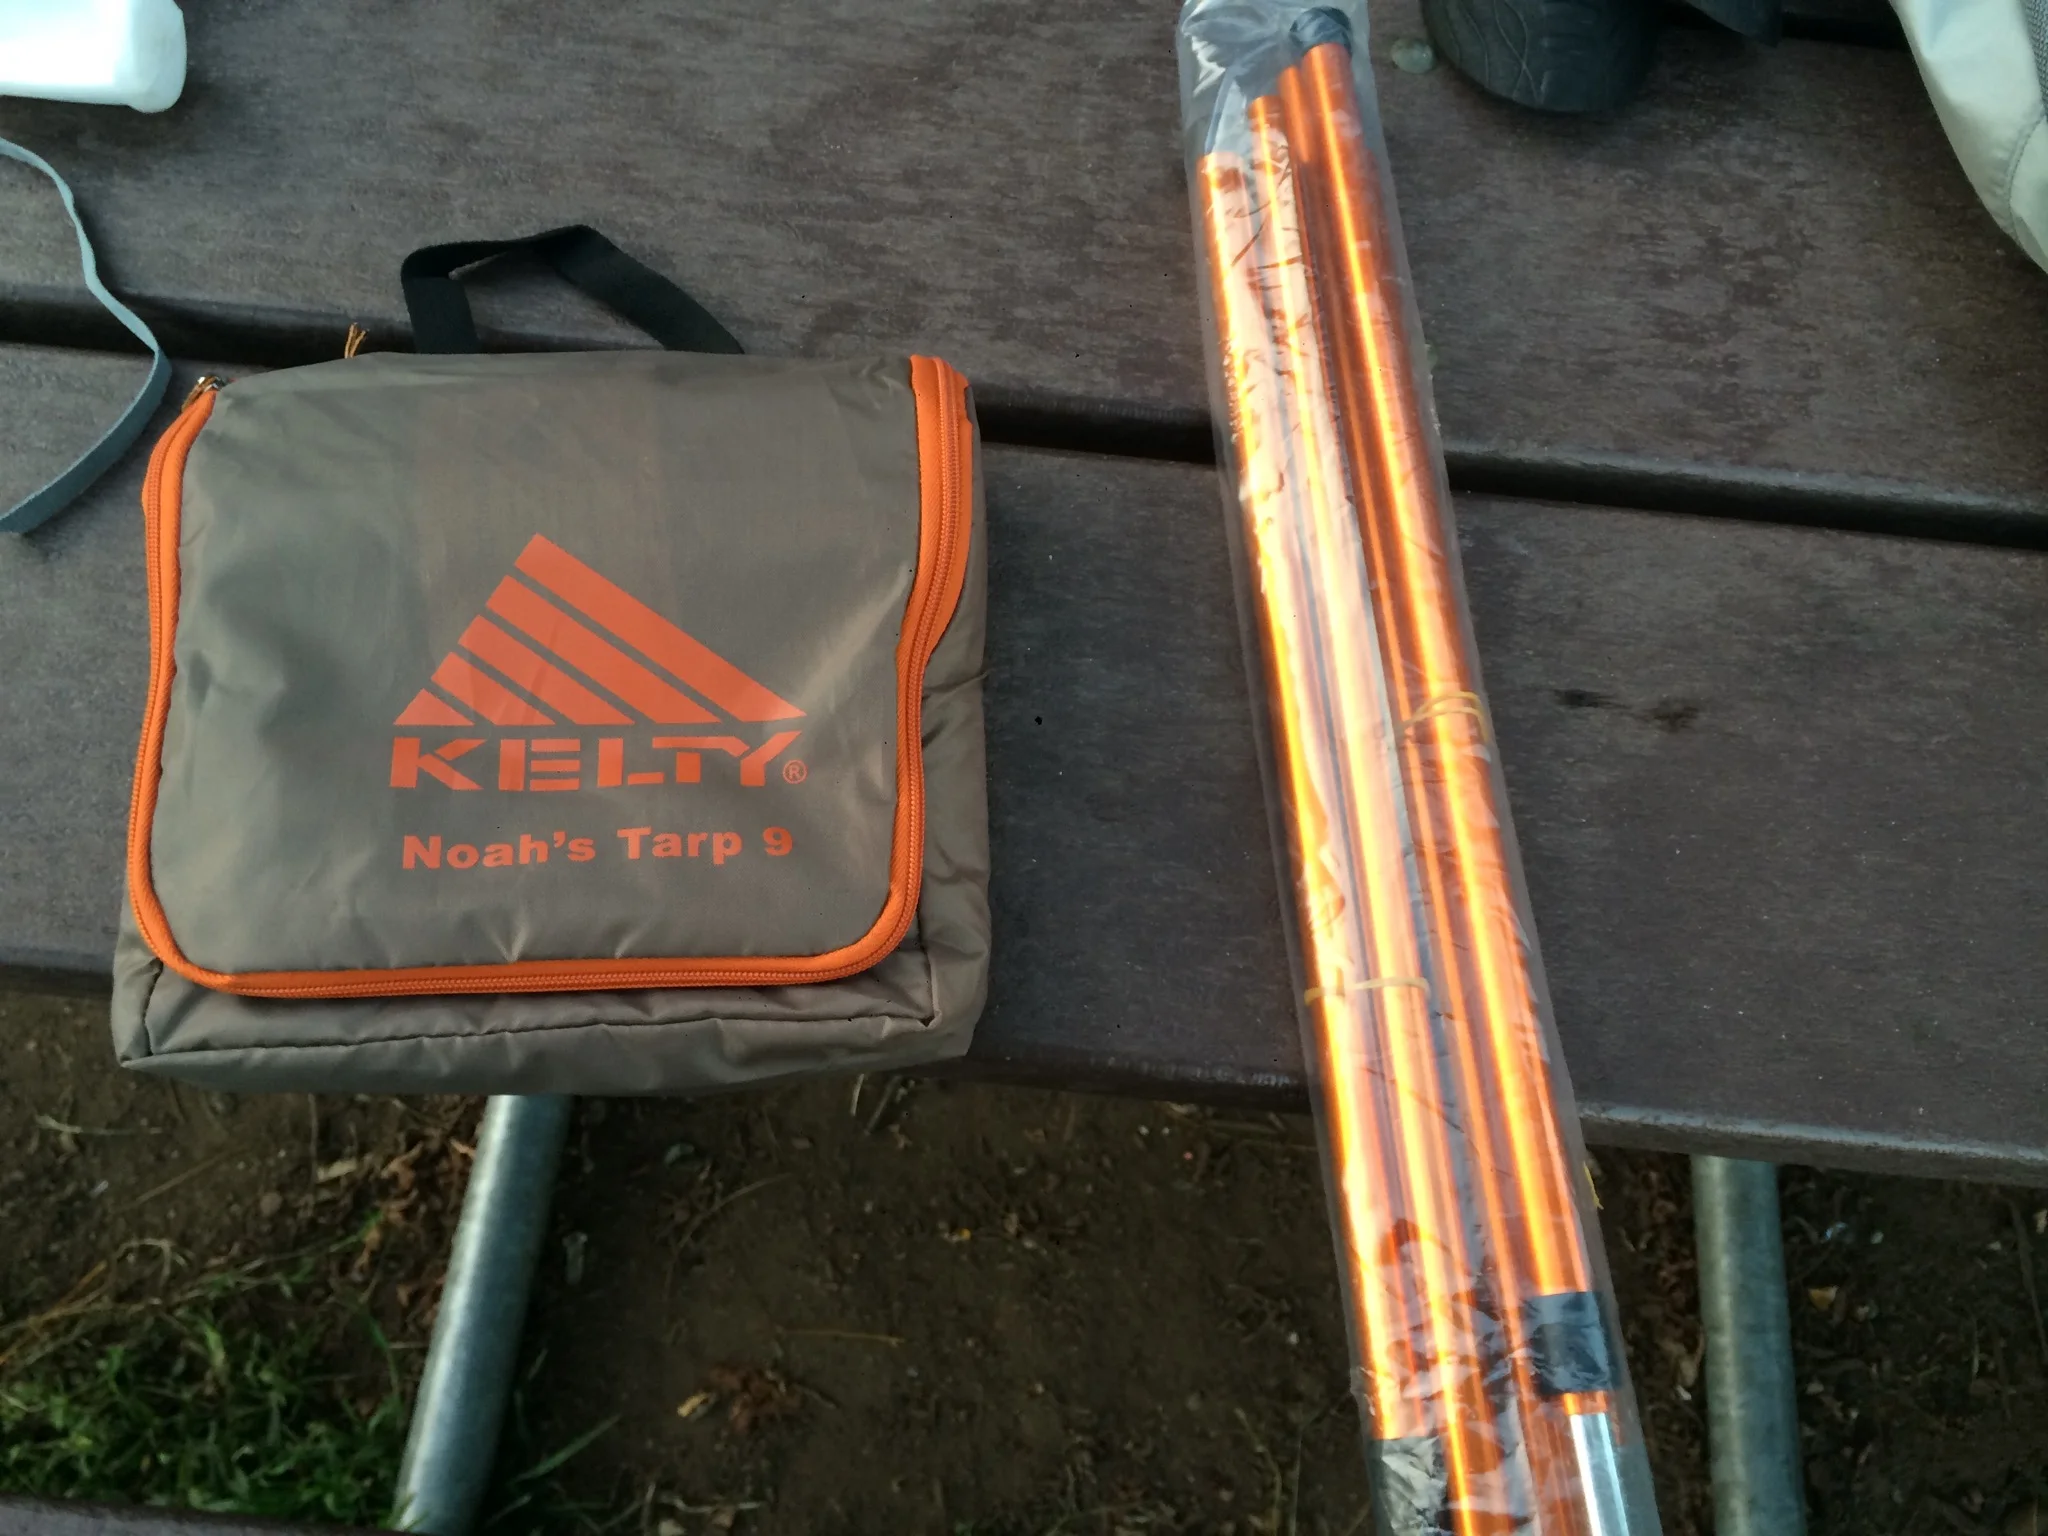
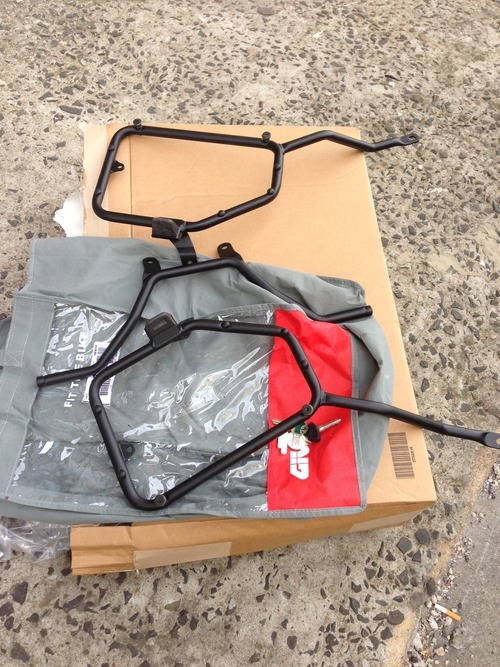
the PL188 came in a little fabric GIVI bag. nice touch.

3 main parts were inside. the left and right side brackets, and a rear bracket that helped connect the two with the rear of the bike. it also came with a little bag of hardware and instructions.
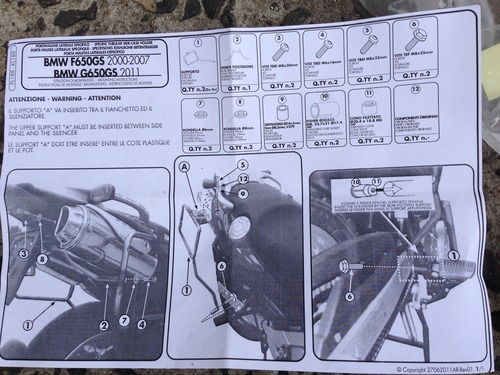
the instructions werent really instructions. im starting to see a trend here, some companies just dont care to give proper step by step instruction. the givi instructions was more just a bunch of information laid out on a page. it did the job.
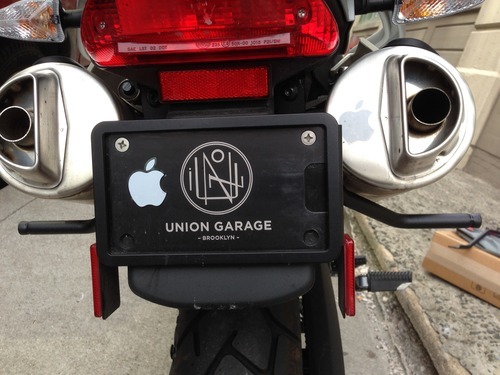
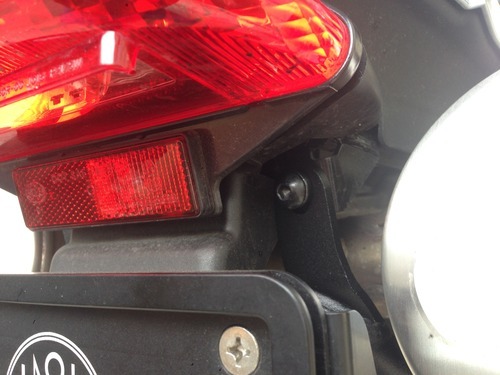
the rear bracket is really easy, connects with two screws to right above the license plate, to the sides of the reflector.
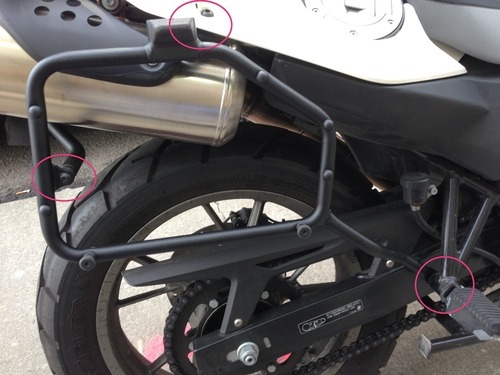
the side mounts were a little tricky to understand at first but easy enough once i decoded the map. i mean instructions. on the back rear white plastic (fairing?) is a little white circle that pops out. use a very thin small flat head and be gentle. pop that out and you will see a screw. you do not have to remove the seat or the other screws on the white plastic (oops). remove that screw and save it on the side as you wont be using it again. save for the future. it wasnt easy getting that screw out. it was very tight and my largest hex bit would not turn it. i ended up going to the mechanic around the block and use used a socket wrench to loosen them for me.
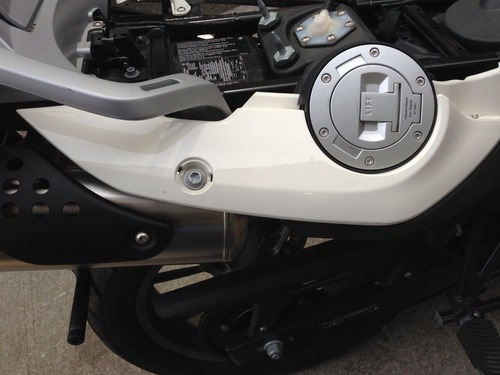
the top of the bracket slides in between the white plastic and the screw hole underneath. the instructions show to use plastic spacers, but … none came with it. i just screwed the new givi screws in all the way, using the washer that came with the original bmw screw. i peaked underneath to make sure they weren’t doing any damage by going to far when screwed all the way without a space. it was fine. i left the screws a little loose so i could have wiggle room when matching up the other 2 screw points.
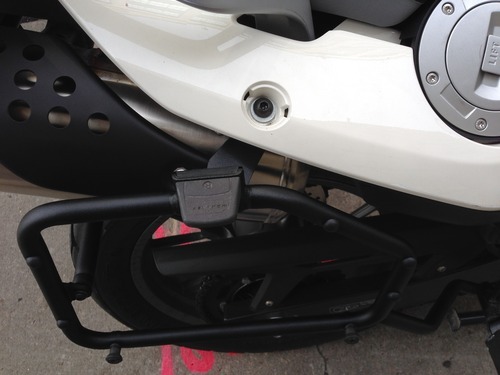
there are 3 total screw points for each side bracket. one we just went over, the other attaches to the rear givi bracket we attached earlier. that ones super simple. again leave it loose until all 3 are locked in. the third location is behind the passenger foot peg. it actually attached to the foot peg assembly.
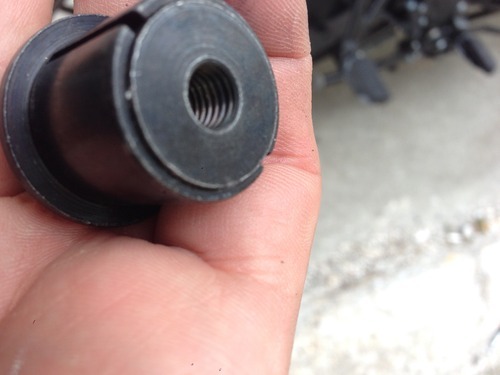
 the rear side of the foot peg is hollow. we need to put two pieces together to form the female end for the screw. its very similar to a wall anchor, when you insert the screw in to those pieces, the inner piece expands and the outer part then grips the interior of the peg holding it in place.
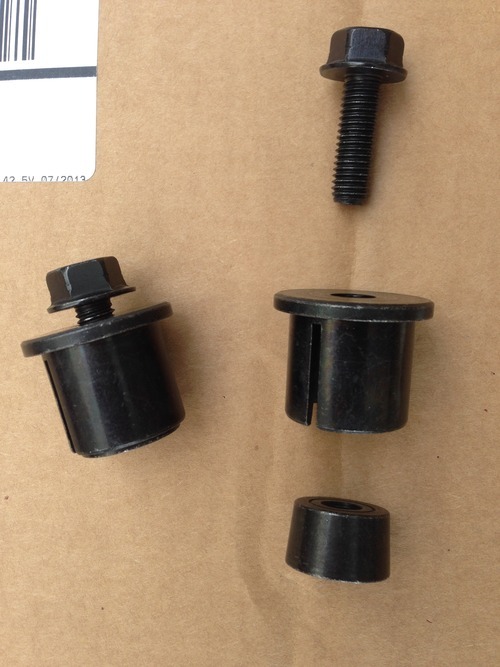 what was tricky for me is that i couldnt get the screw to thread properly once i put those pieces in the foot peg. the little cone shaped one seemed to fall deeper in to the foot peg. i realized soon that i needed to first push the cone in to that cylinder with some good pressure first so it would stick in place so once inside the peg it wouldnt try and escape before getting .. screwed. so .. push them together good first.
then slip that little sucker in to the rear side of the foot peg. line up the bracket with the foot peg and insert the screw. tighten with your hand as much as you can until its nice and tight. then tighten the other 2 screws on the mounting bracket. then come back to that foot peg screw and tighten it good with a wrench.
repeat on the opposite side, then get your bags ready!
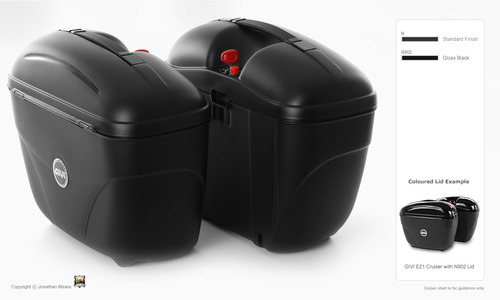
i wasnt sure at first how to tell which side was which, and from what i tried, it worked both ways. i noticed that the top portions of the case are slightly smaller on one side over the other. so its not the sides or bottom, but the top that flips open. the smaller part should face forward. i think.
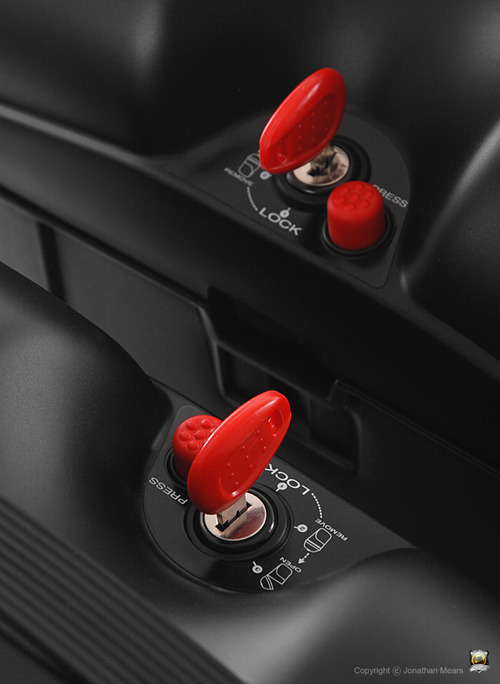
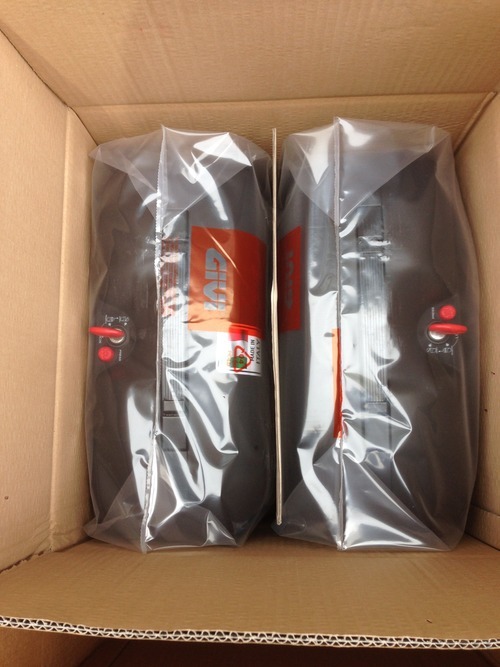
the bags snap on relatively easily. the key needs to be in the lock, and in the unlocked position. slide the bottom of the case in to the two grooves on the bottom. then press and hold the red button down (lock in unlock position) and push the case in to the rubber up top. you wont hear a click, you just need to push good and then let go of the button. pull on the case after to make sure its in good.
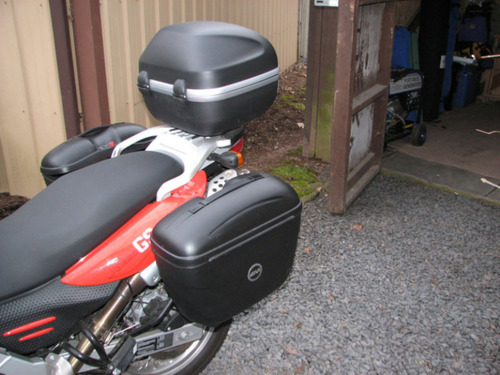
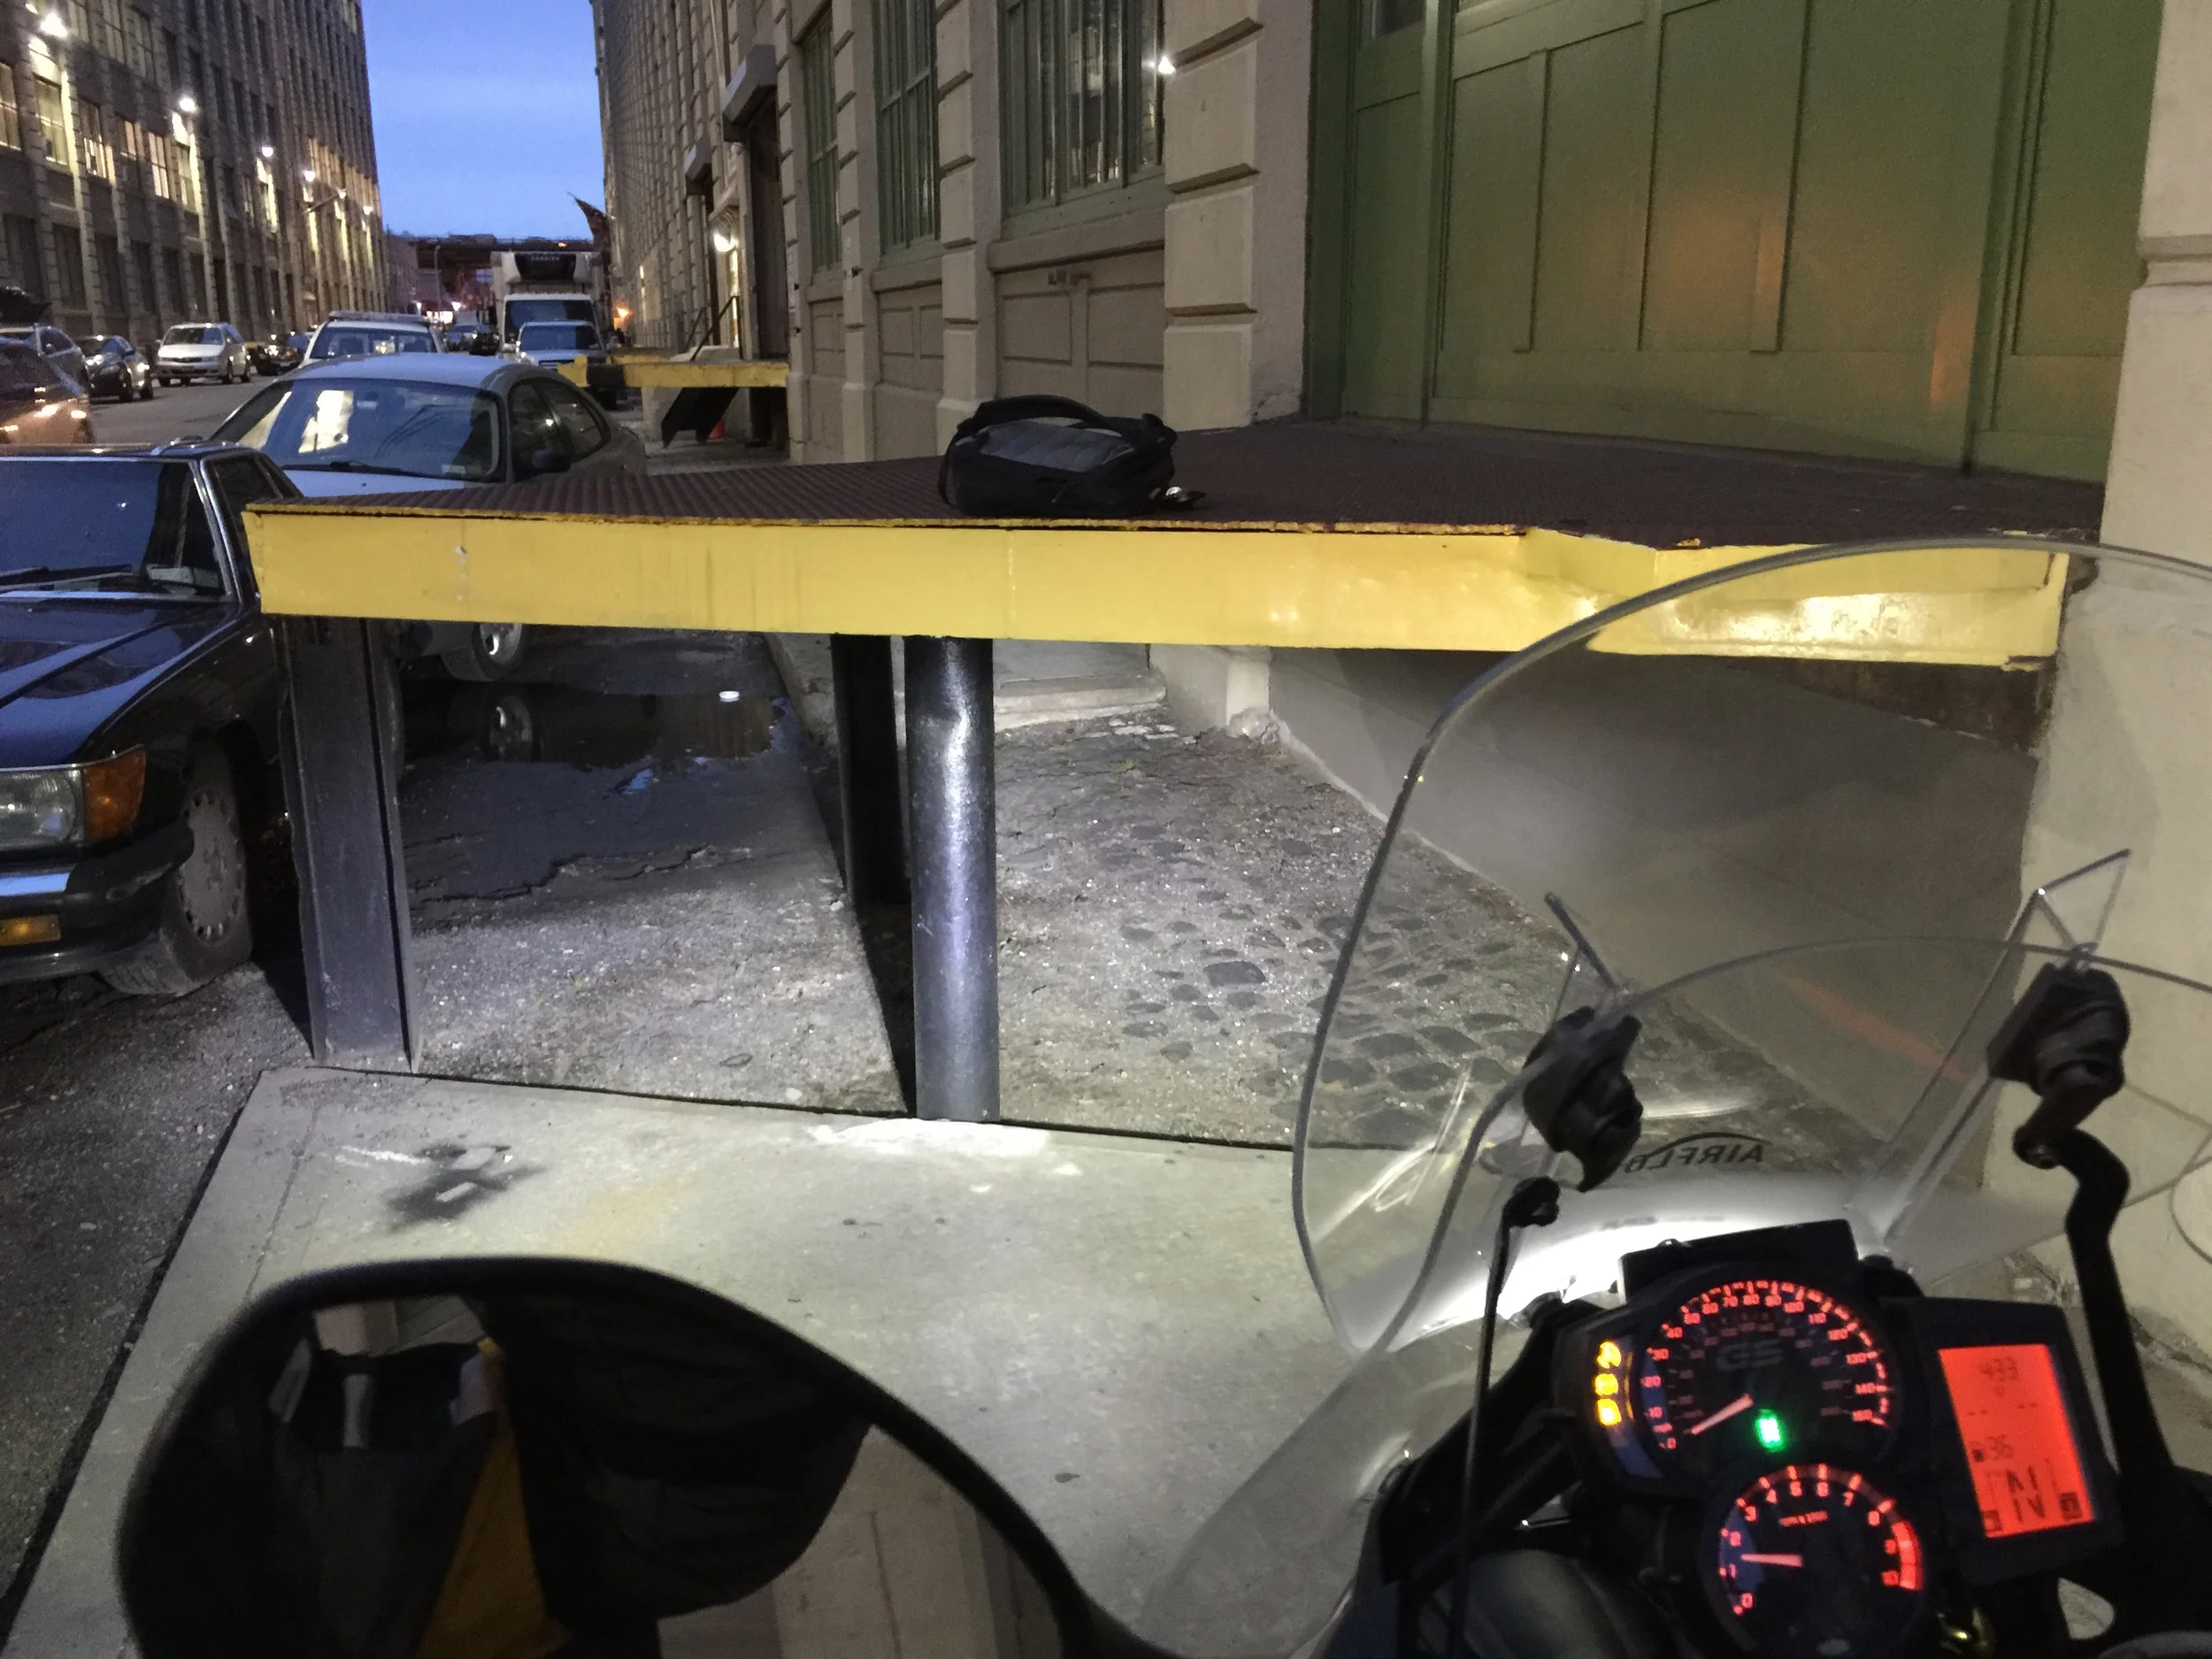
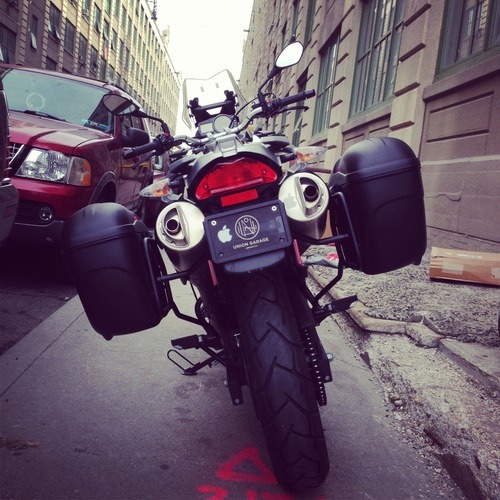
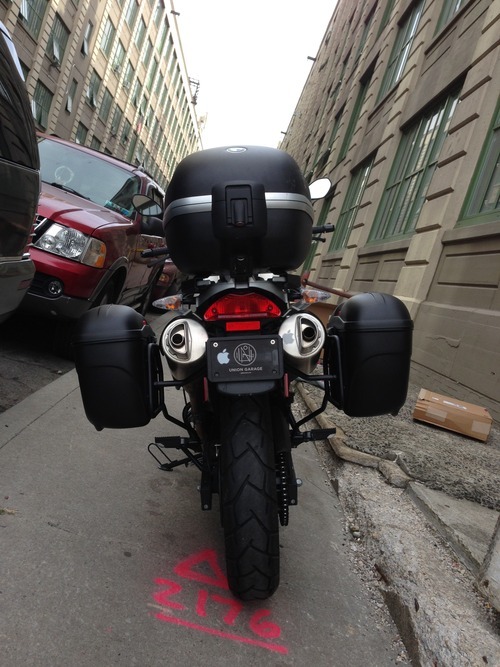
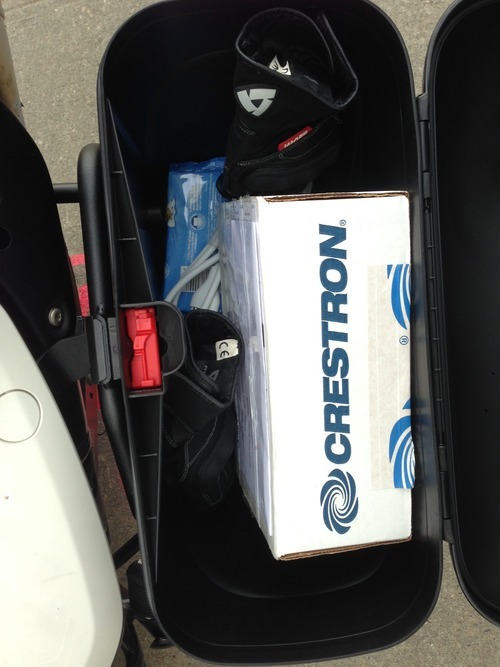
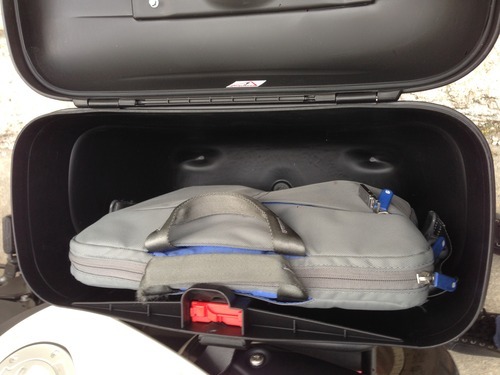
thats it! you’re done. now i can fit rain gear, jackets, pants, laptop bag, tools, and other misc with ease. my top box is pretty much just for my helmet now that i have these side cases. i used to swap my laptop bag and helmet in top box but could never fit both.
ive had them for one day now and love them. im still experimenting with lane splitting, but im not too nervous. when i lane split its usually though stopped traffic anyway. the bags are pretty much slightly bigger then my handle bars. my bike is looking doofier then ever now with all these cases but its all part of the adventure.
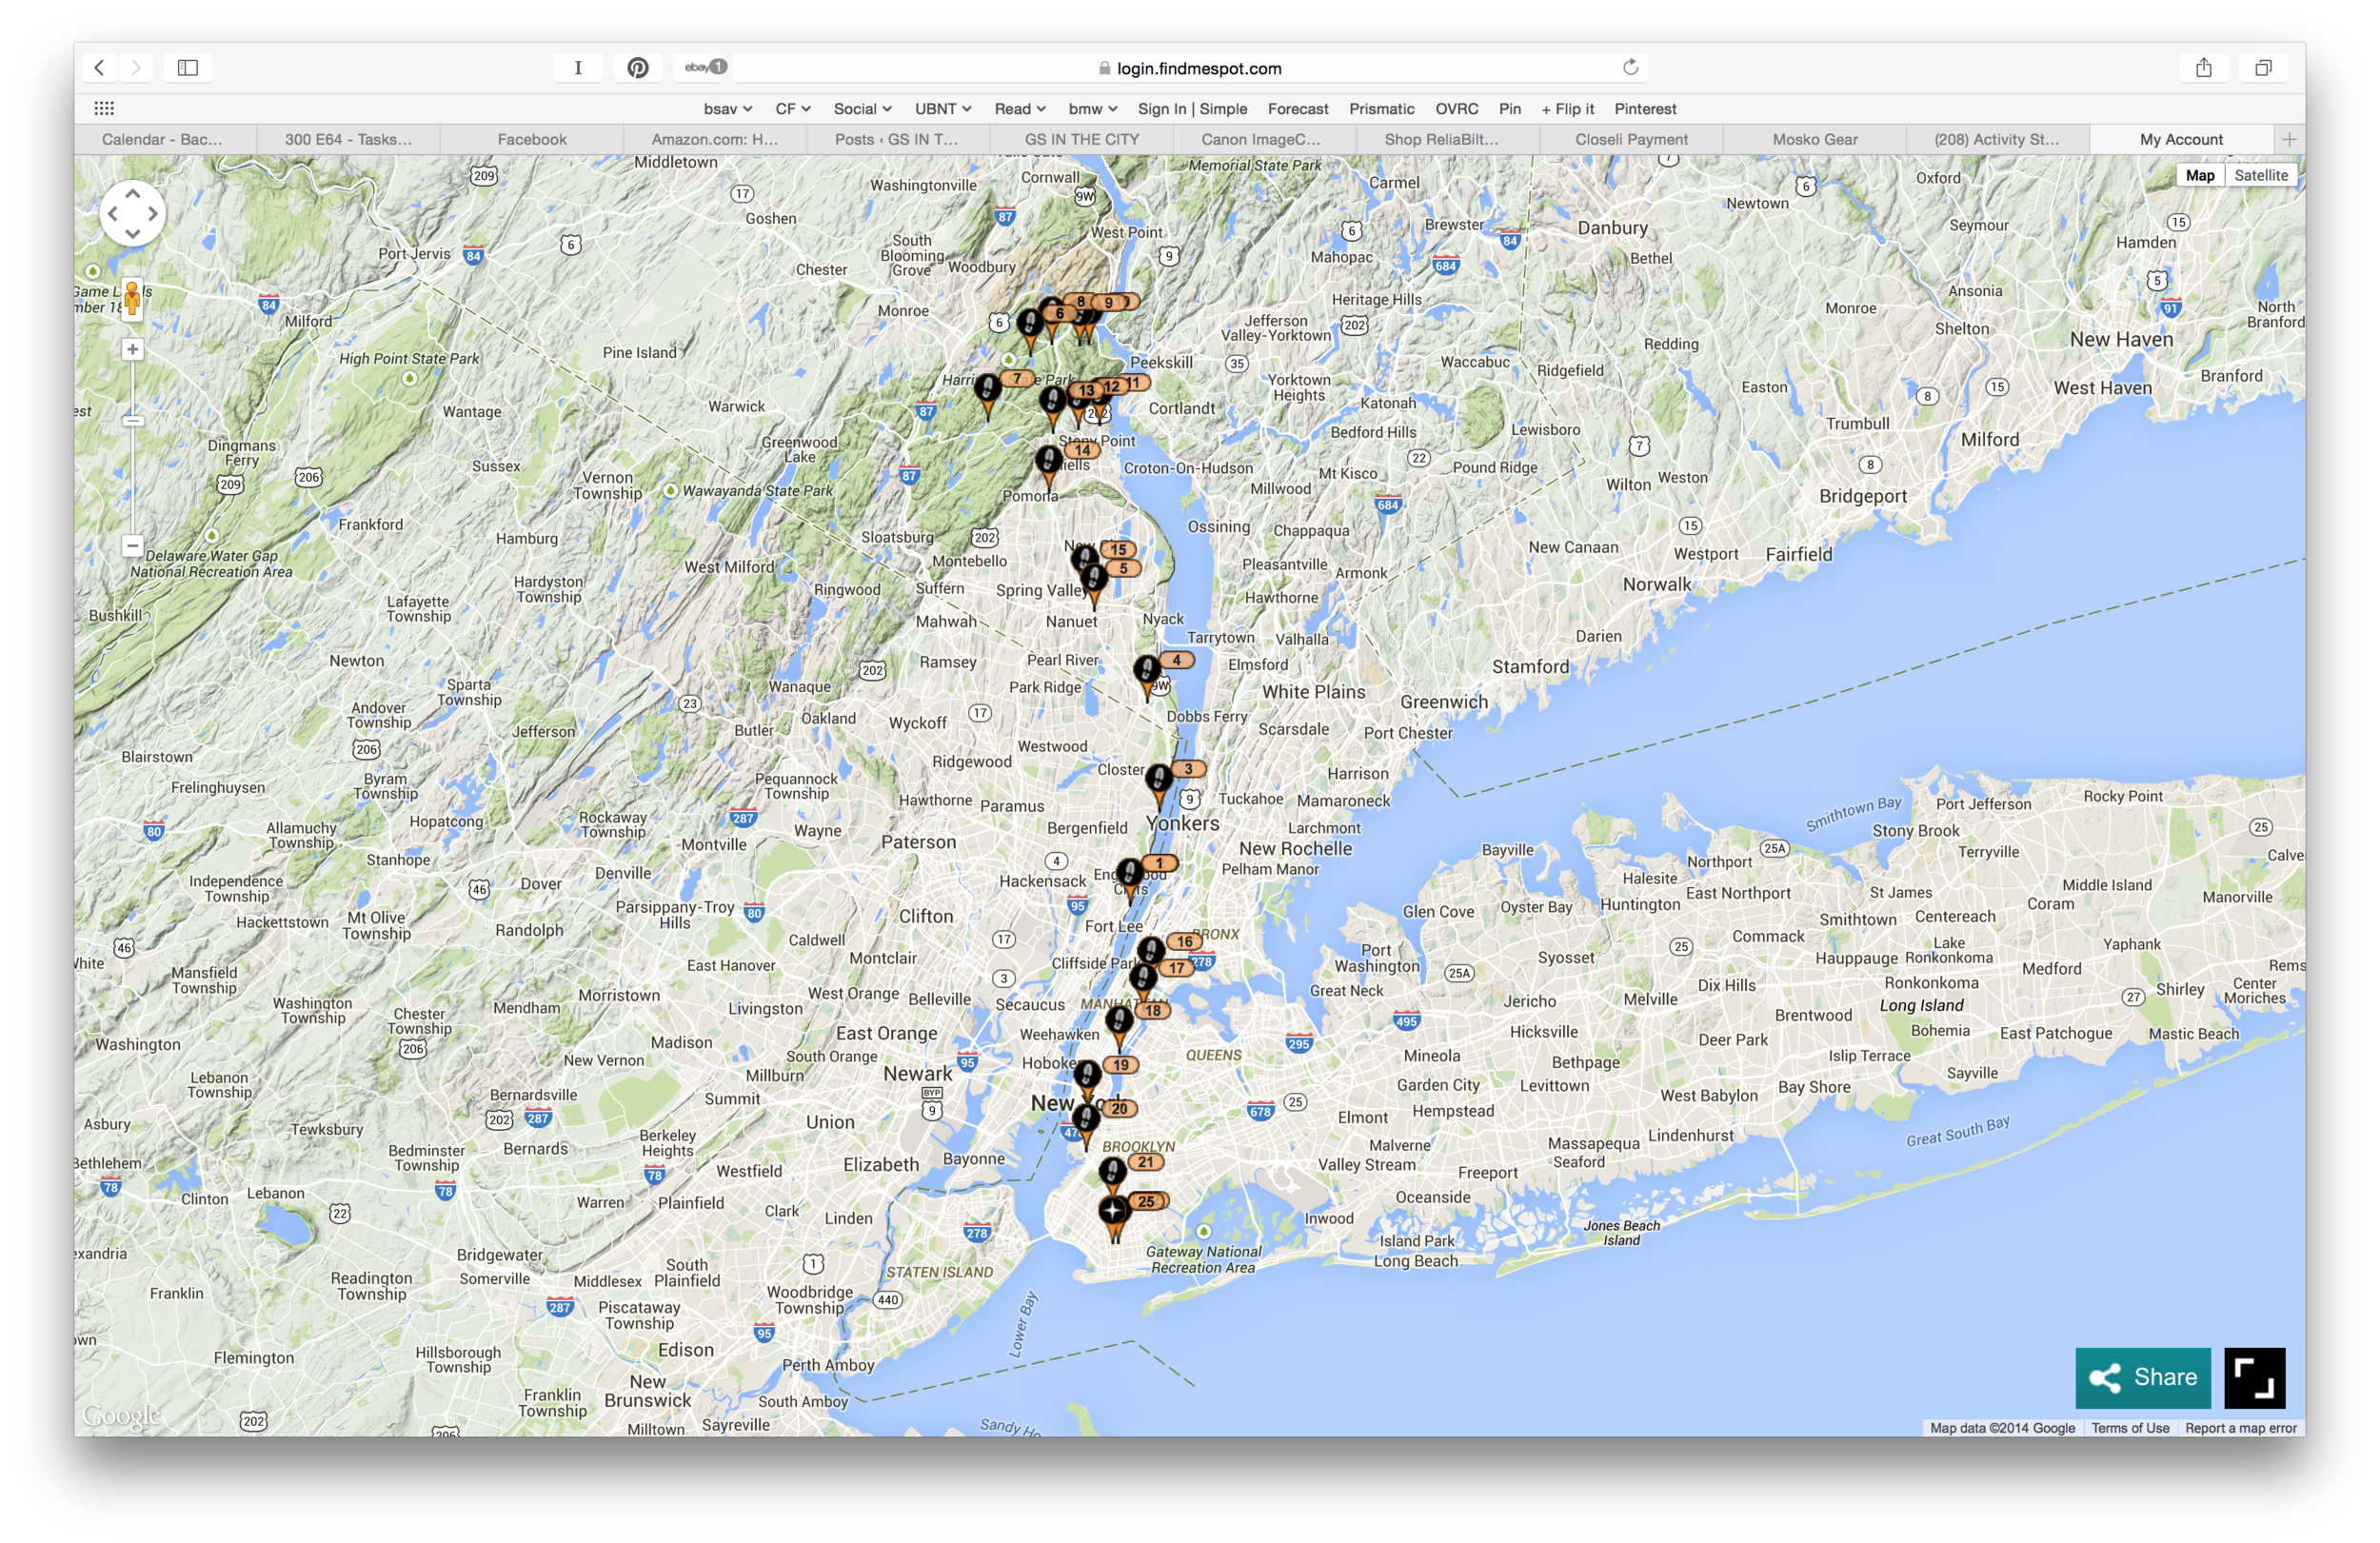
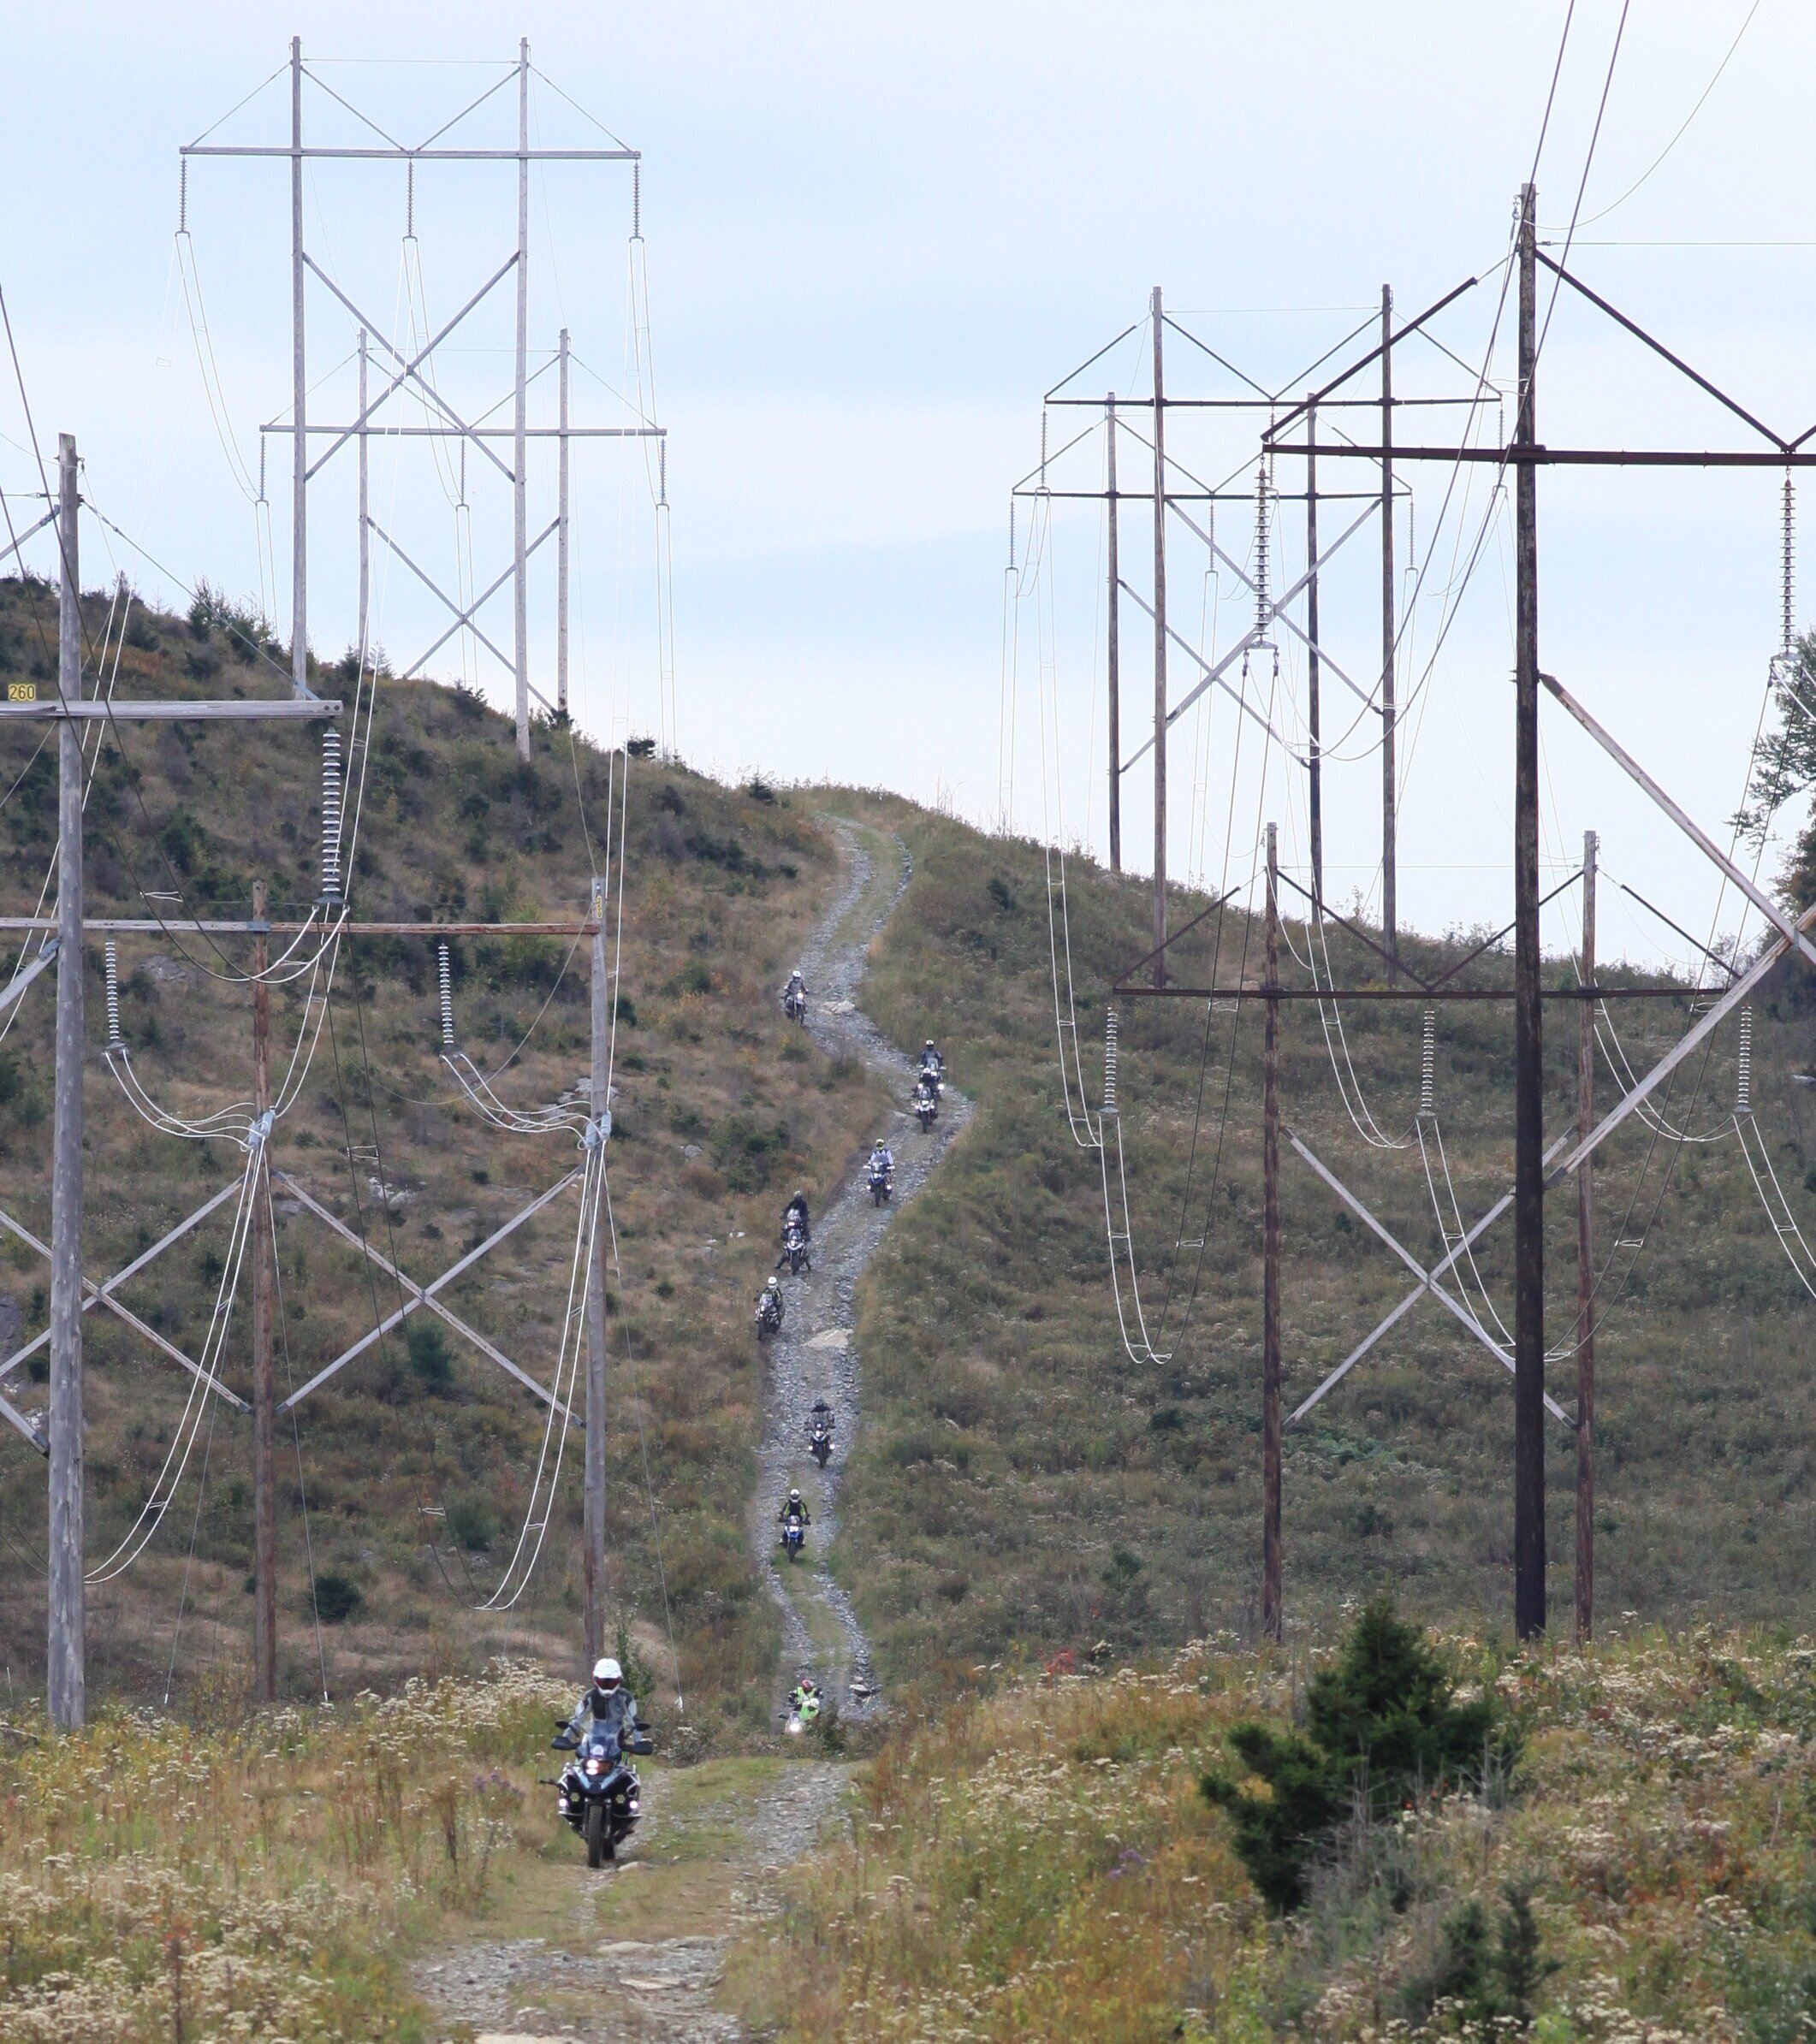
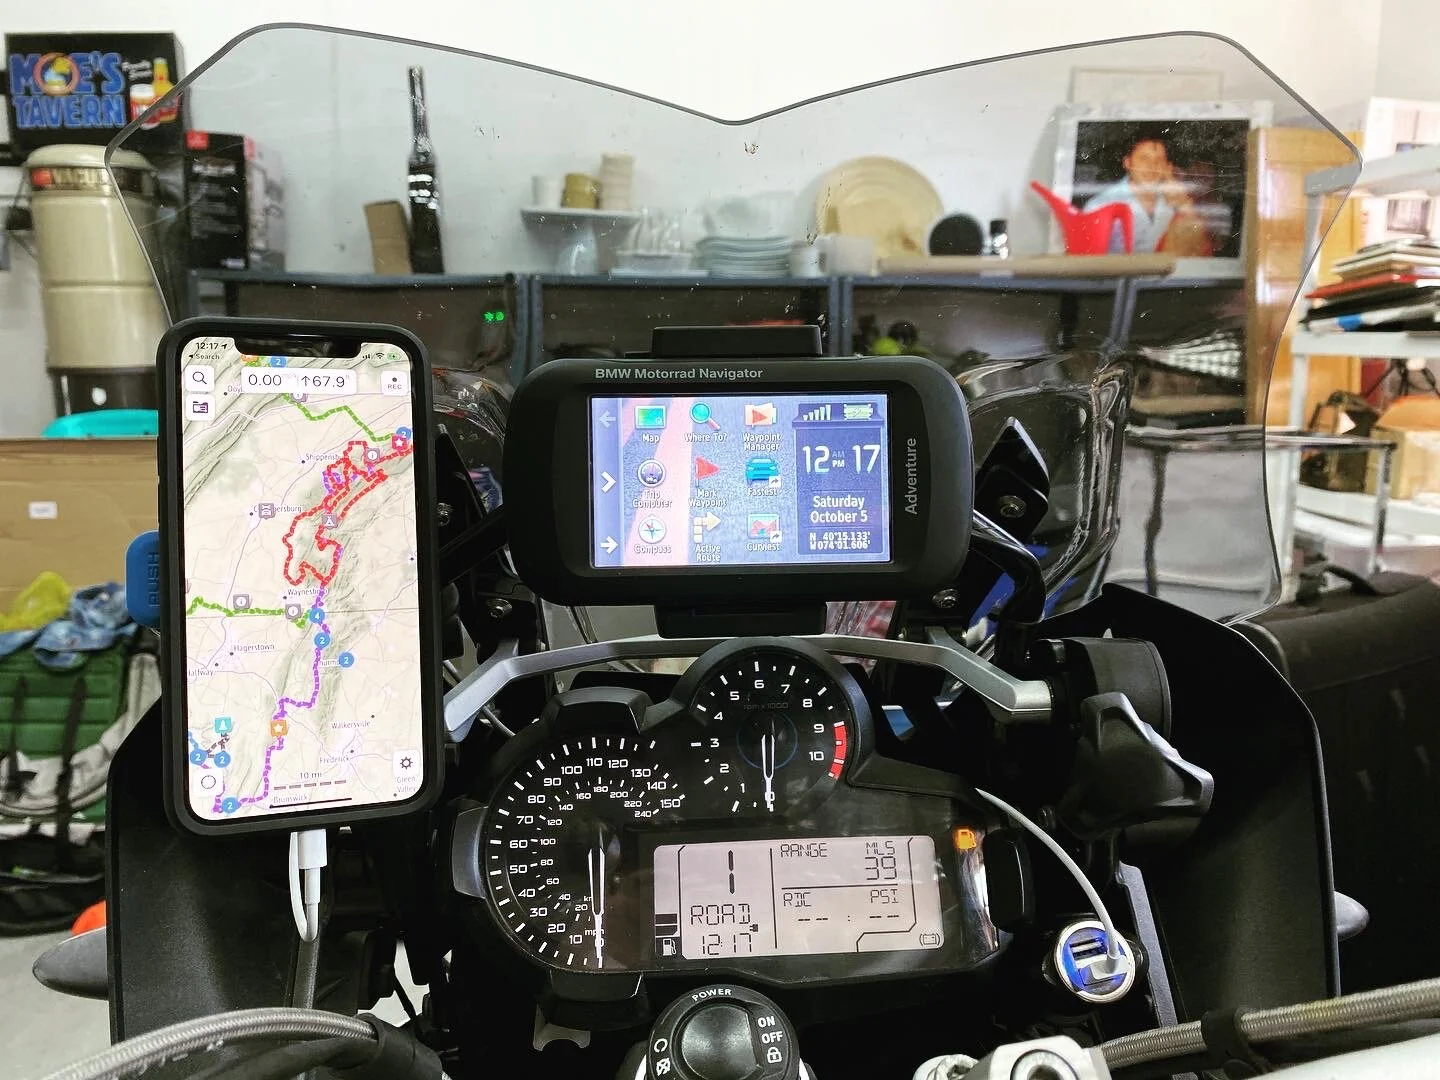
im heading out on my first non work related day trip ever this sunday and im excited. getting out with the citibeemers club somewhere above the gw bridge. these cases should really help.
a few photos of them in use:


New side cases arrived!
i dont think the touratech windsheild bracket i bought recently helped at all. they are being kind enough to let me return it even though i scratched it up slightly. 15% restocking fee. it is what it is. ill have to revisit the wind issue another time… or maybe get some real world advice from other riders in the future with similar setups
im putting that money towards these:
new side cases that i ordered today! im really excited for these. i really did not think i could get side cases for less then $700 but the cases were $180 for the pair, and the bracket to mount them was $160. i cant believe the bracket costs just as much as the cases…
they should be here thursday. excited to install them, its going to make a huge difference in my daily riding experience.
they arent too wide which is key for city riding, but ill be able to put extra gear in there wihch is great.
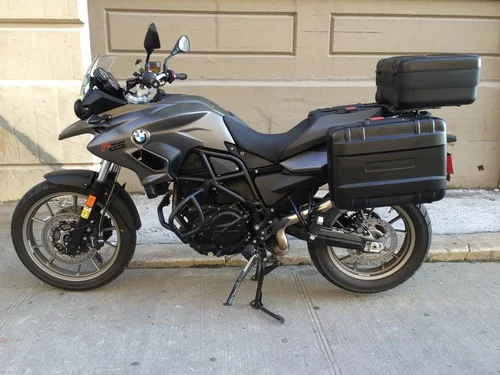
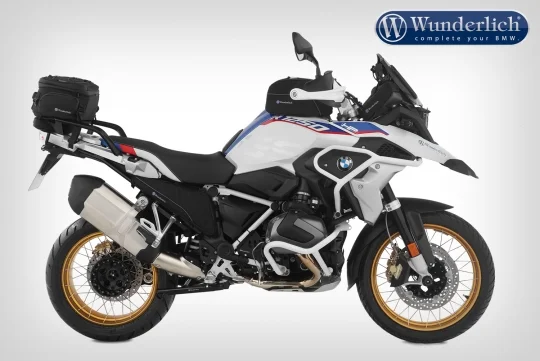
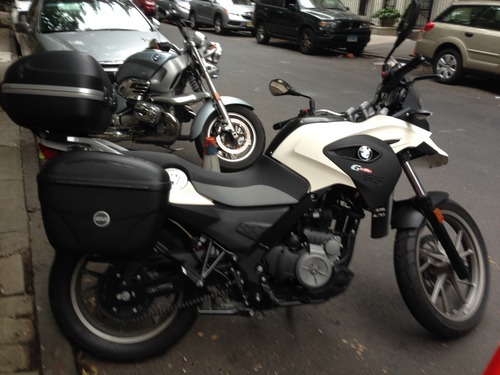
the cases are by givi, the E21 in matte black. the mounting kit by givi is the PL188.
a few images i found on google. the bike in the photos is the same model as my bike but in red. ill put photos up of my installation when i get it.